Episode 04 - The Engineering Process (I)
by dodger-one
The Engineering Process (I)
This episode follows the first serious hand-crafted modifications — both hardware-wise and in terms of the challenge of fitting everything inside the original shell.
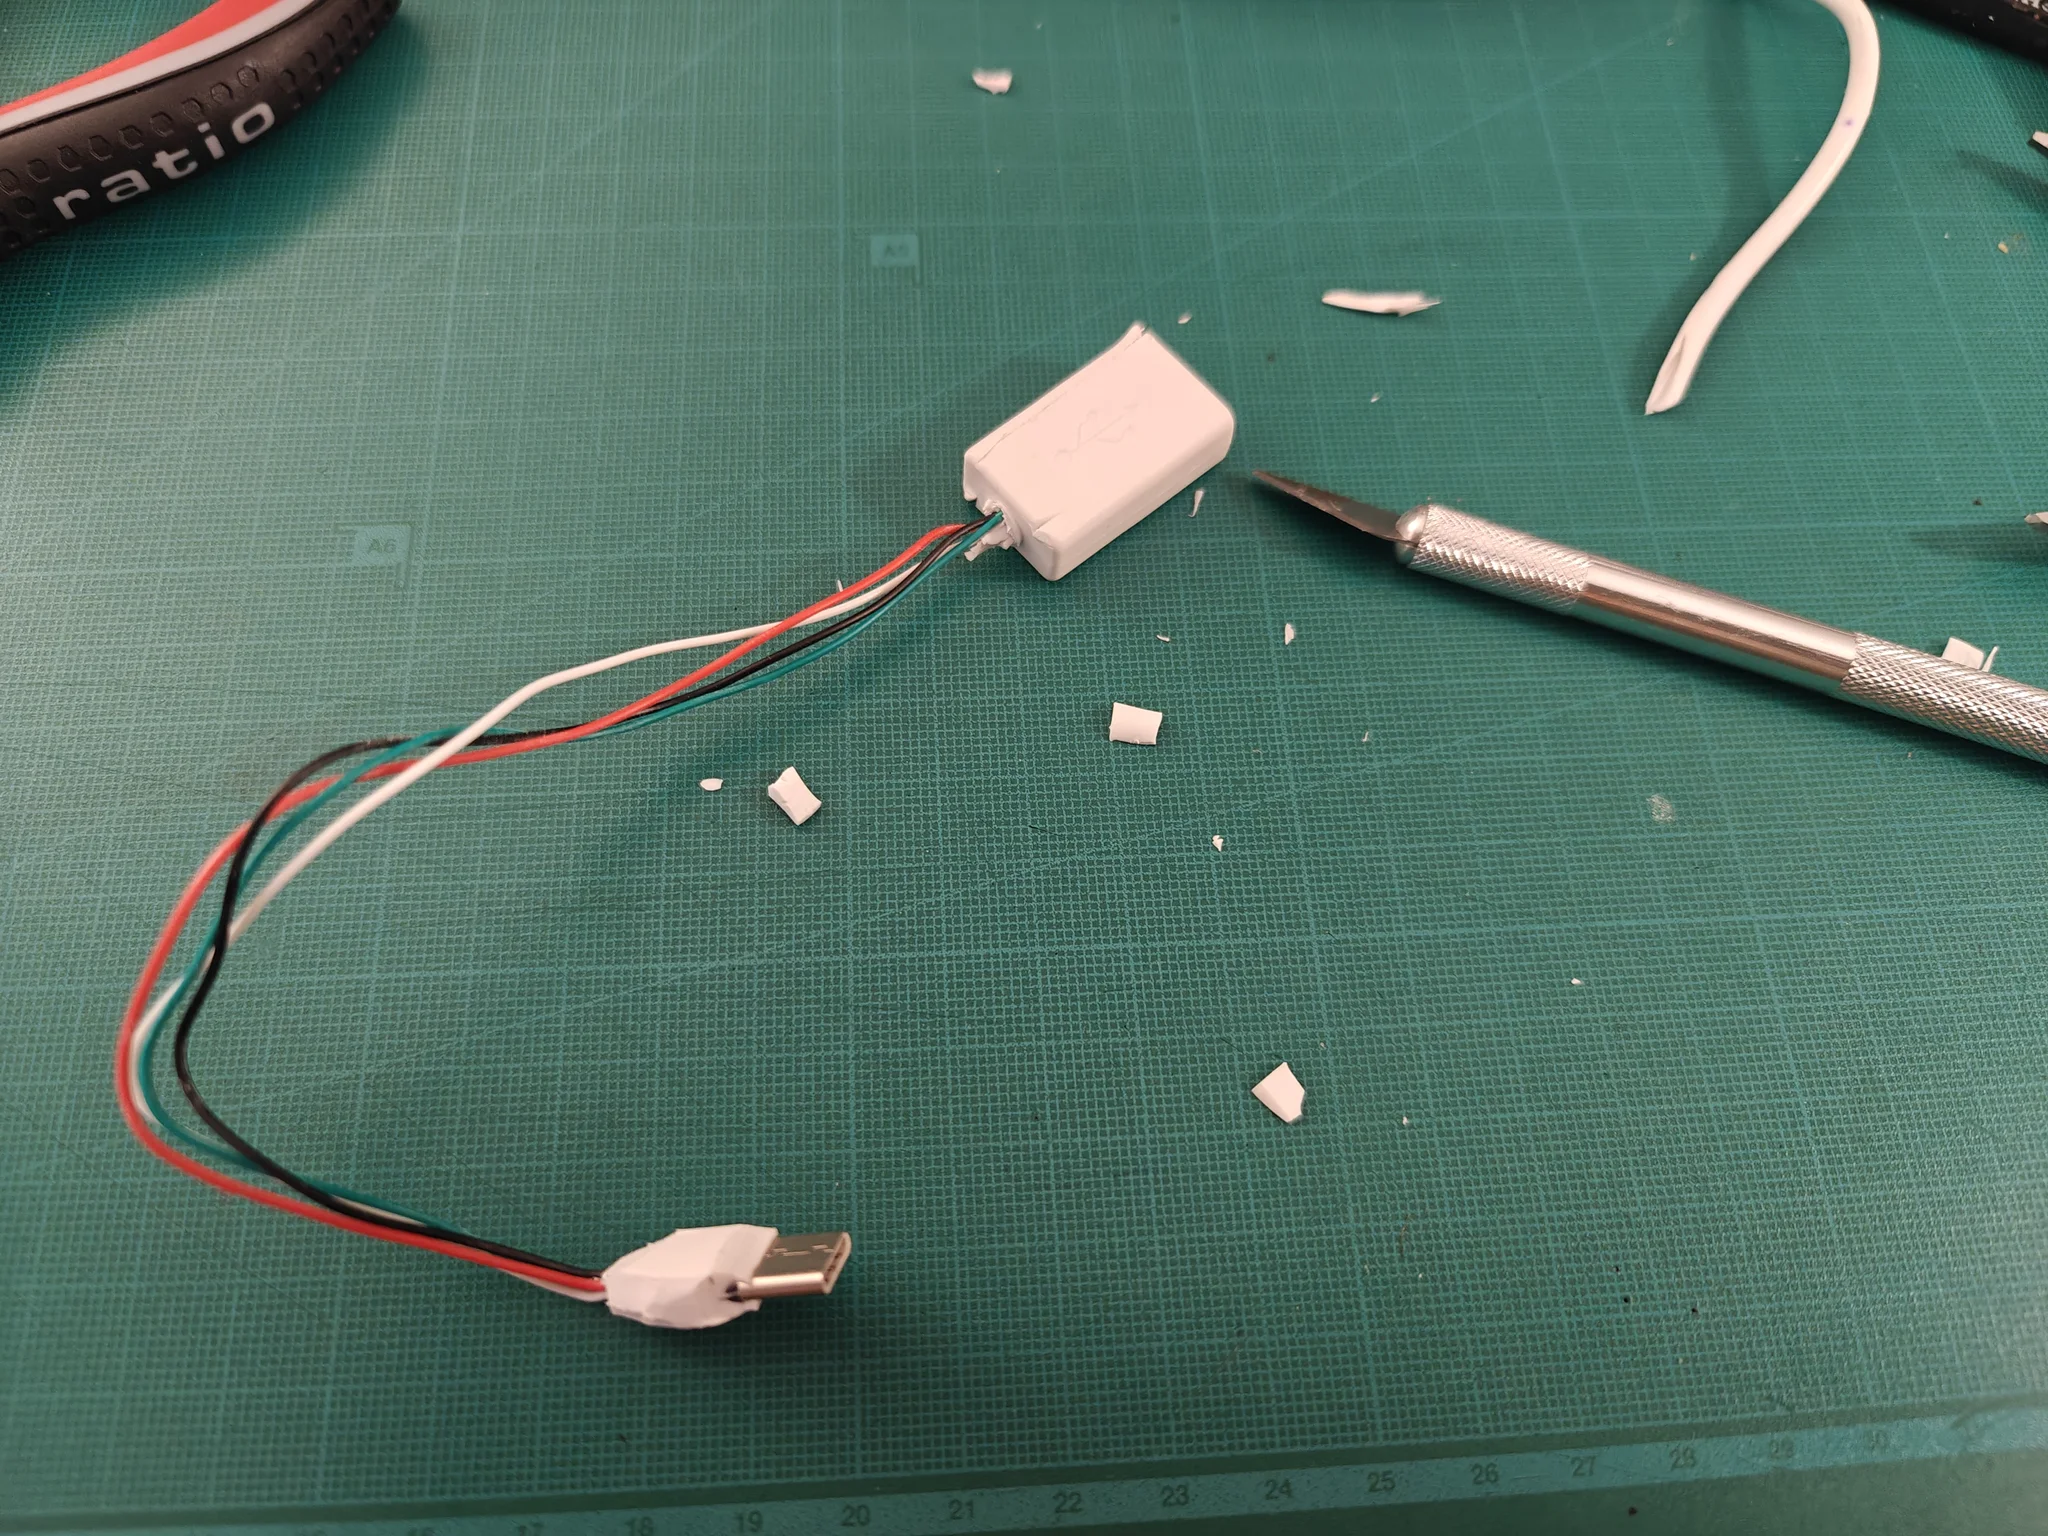
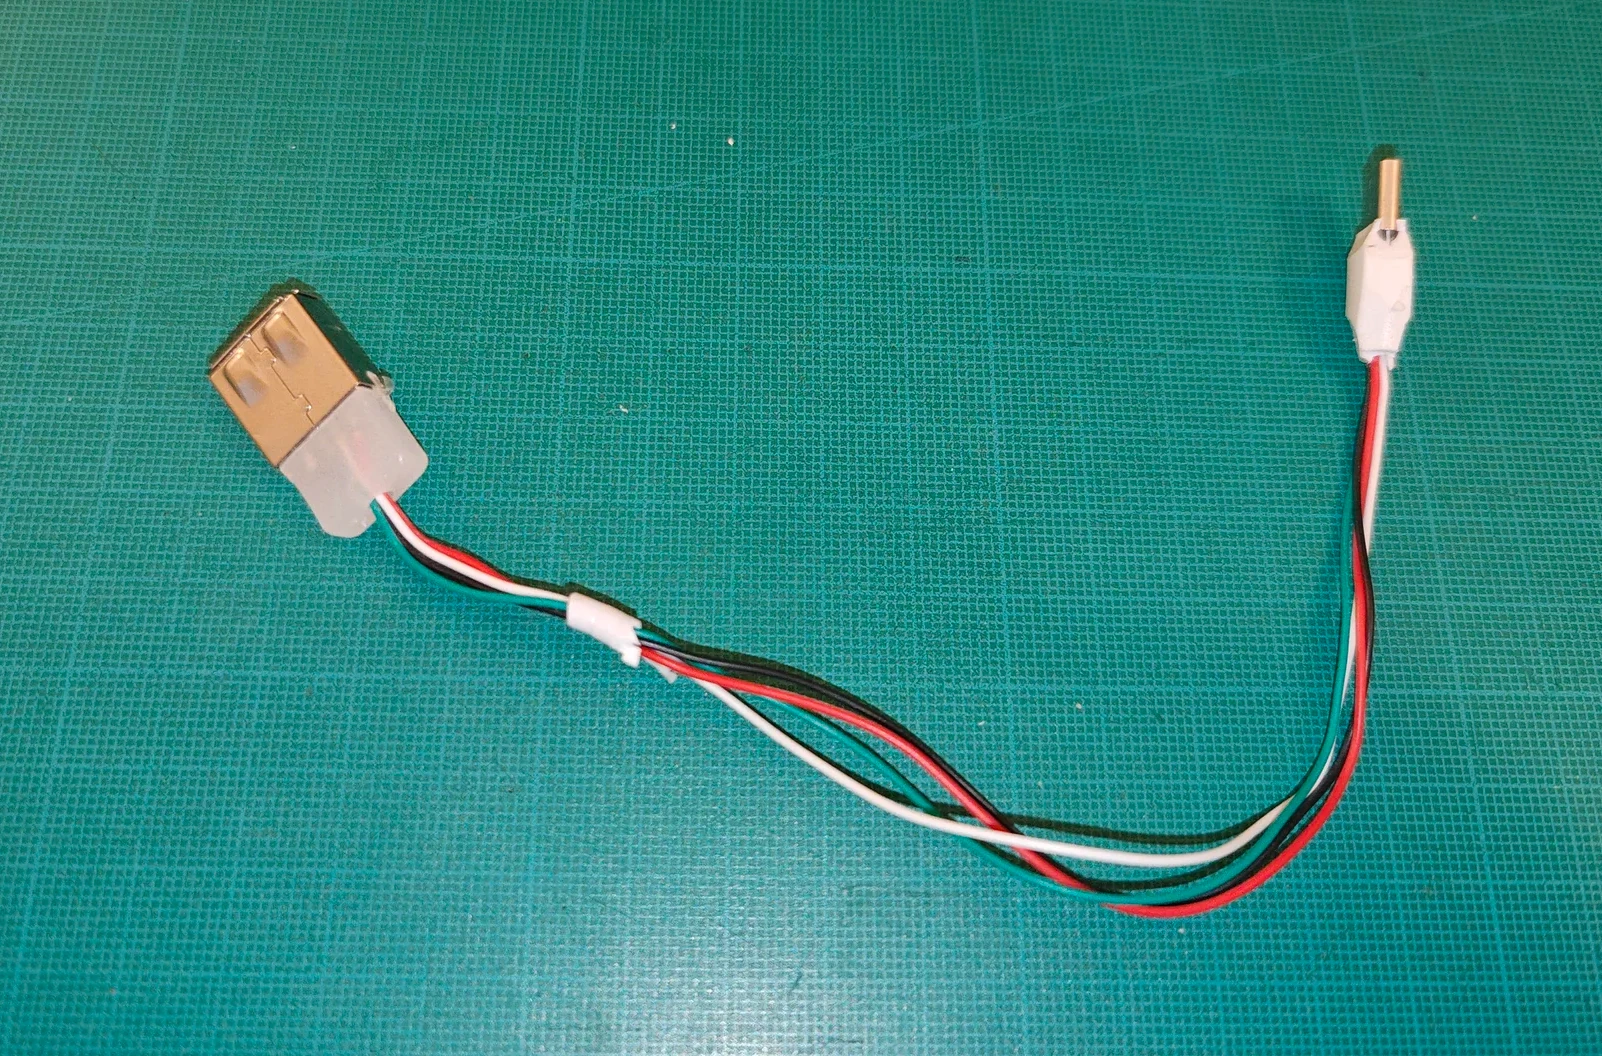
At this stage I thought it would be great to have an externally accessible USB-A female connector to reprogram the Pico.
But the connectors were too bulky, and the cable itself was not flexible enough to fit inside.
So I remove almost all the external shell from a USB-otg cable (USB-A female to USB-C male):
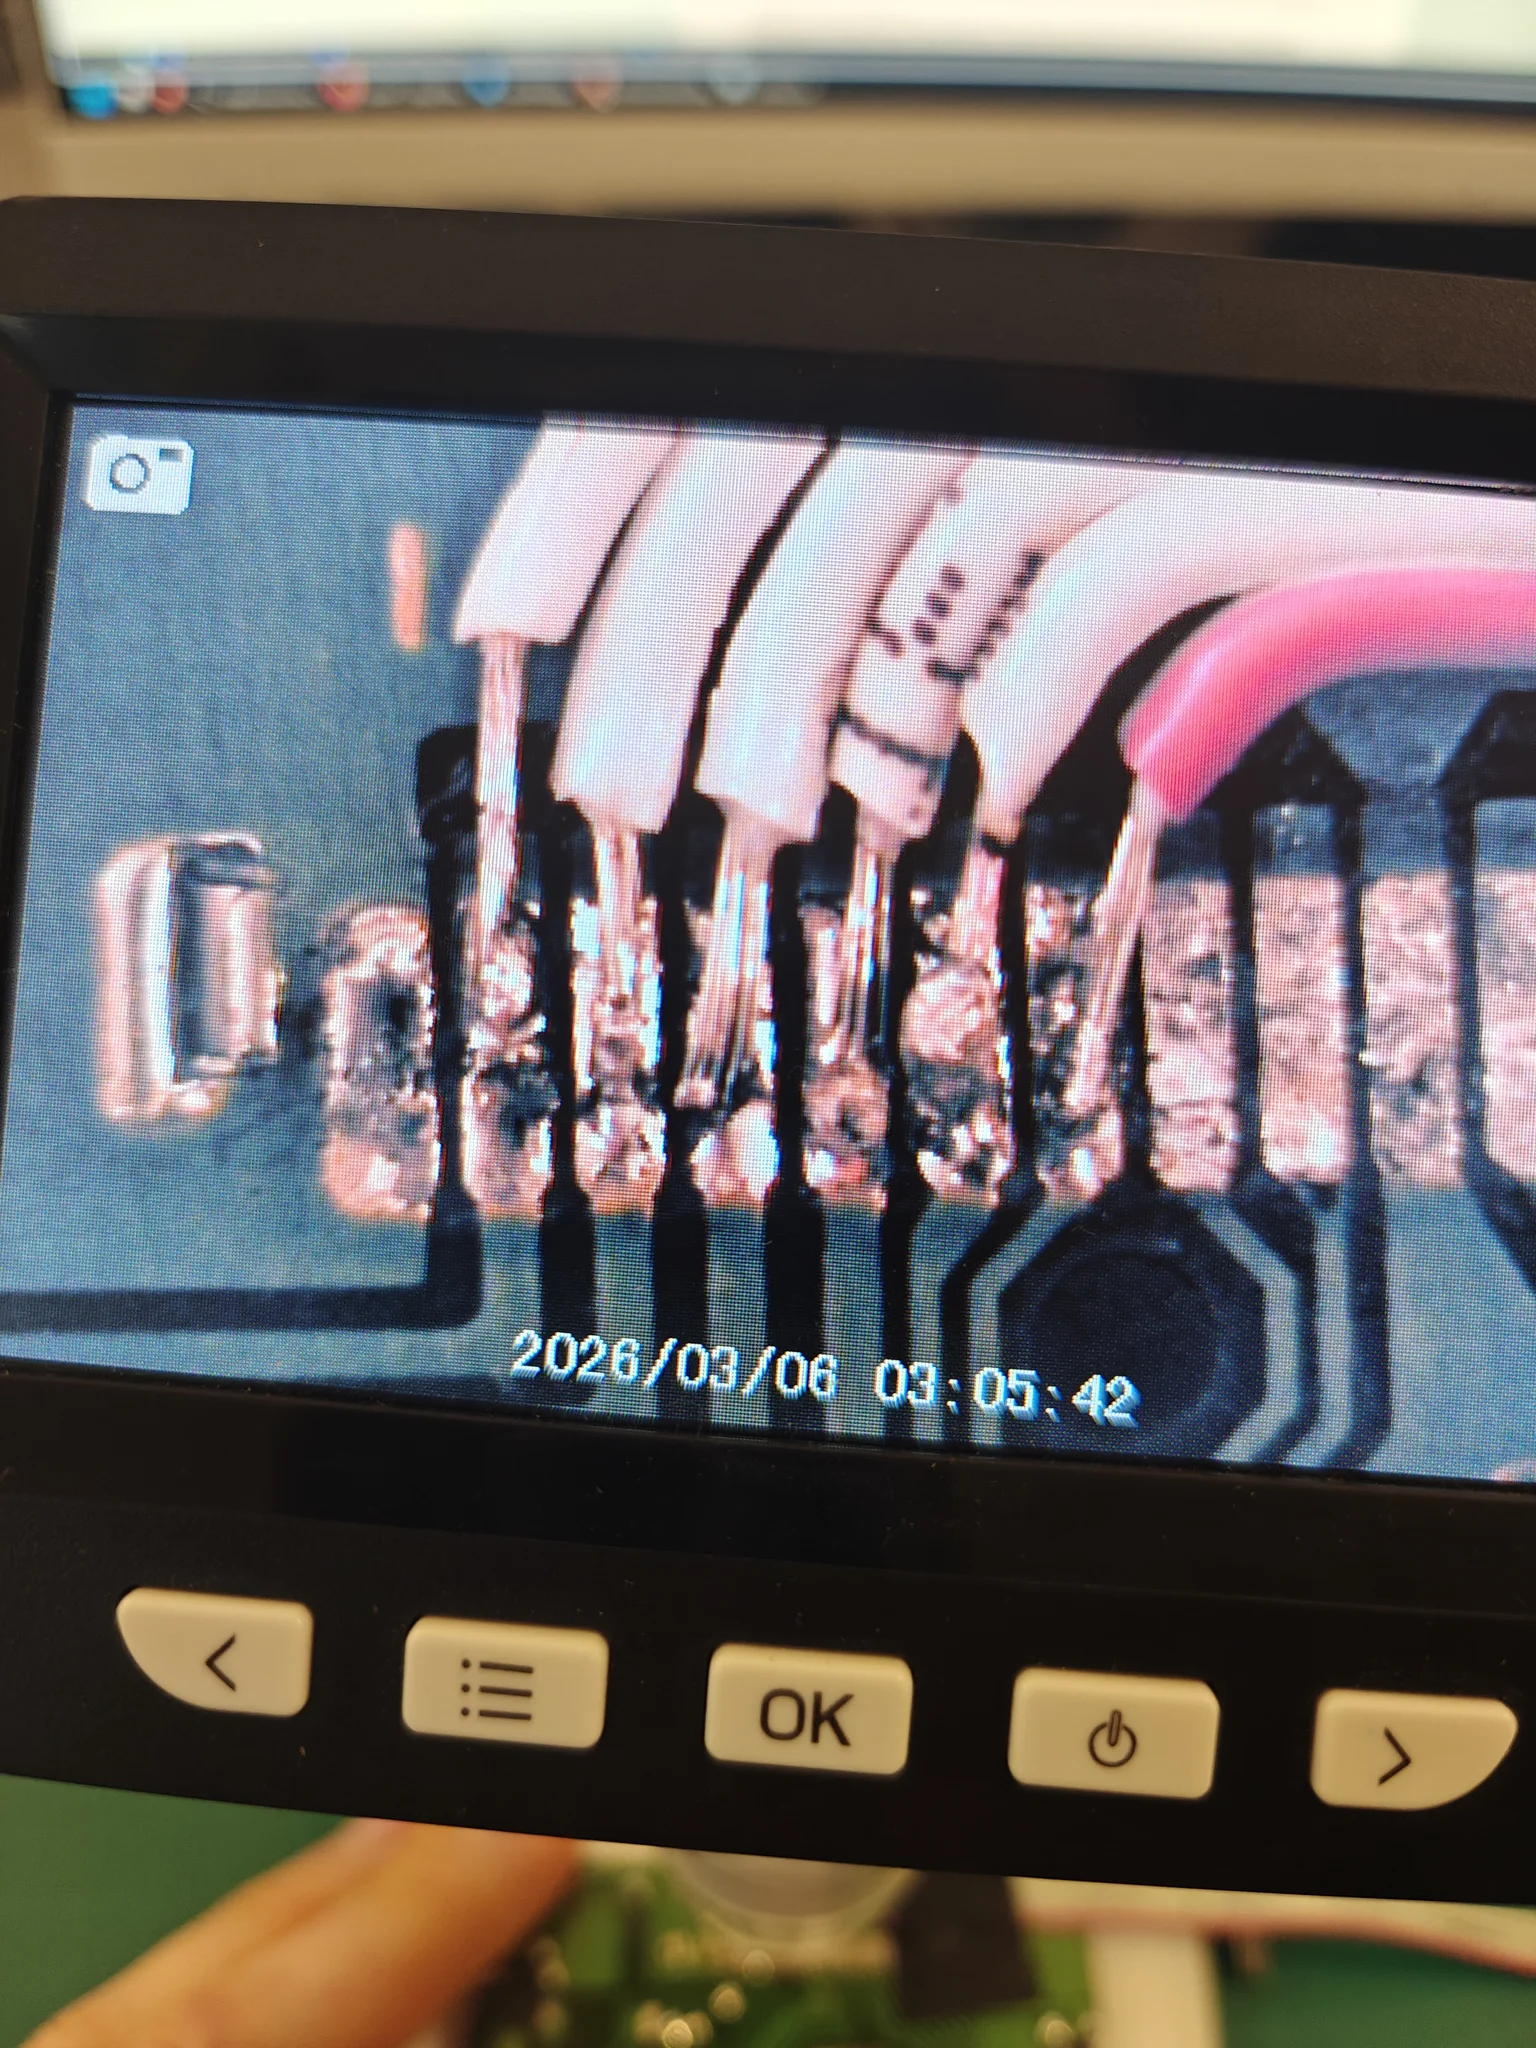
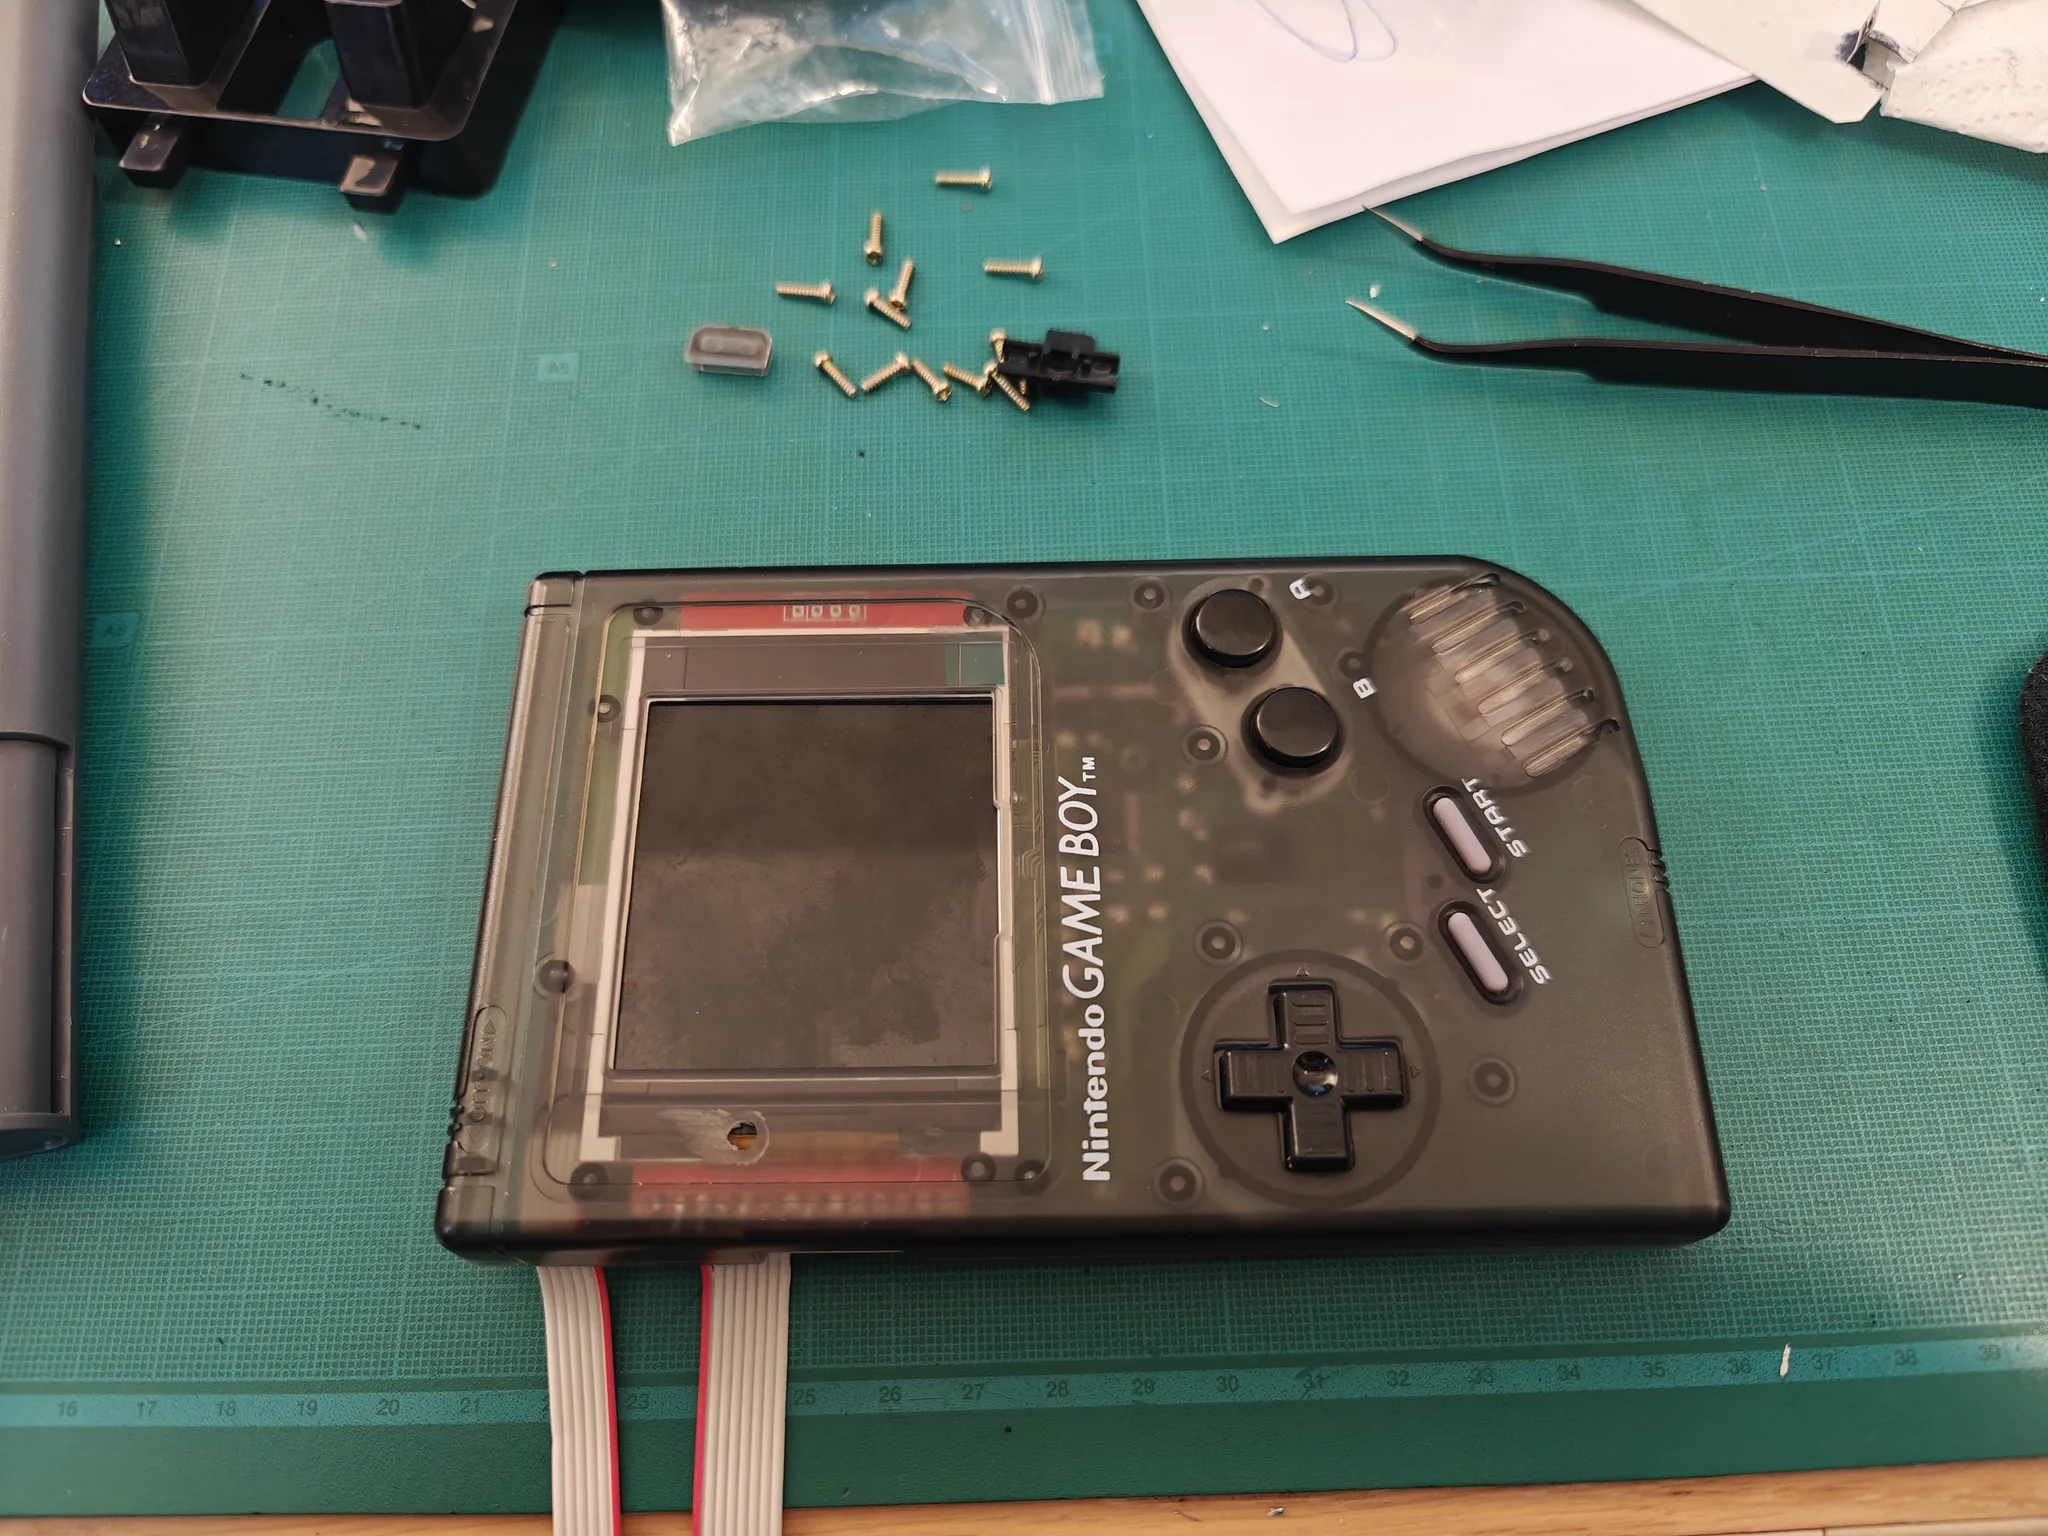
It was also time to begin fitting the 2.8-inch screen into the shell. First I took some screenshots of the cabling (completely useless in later stages :rofl:)

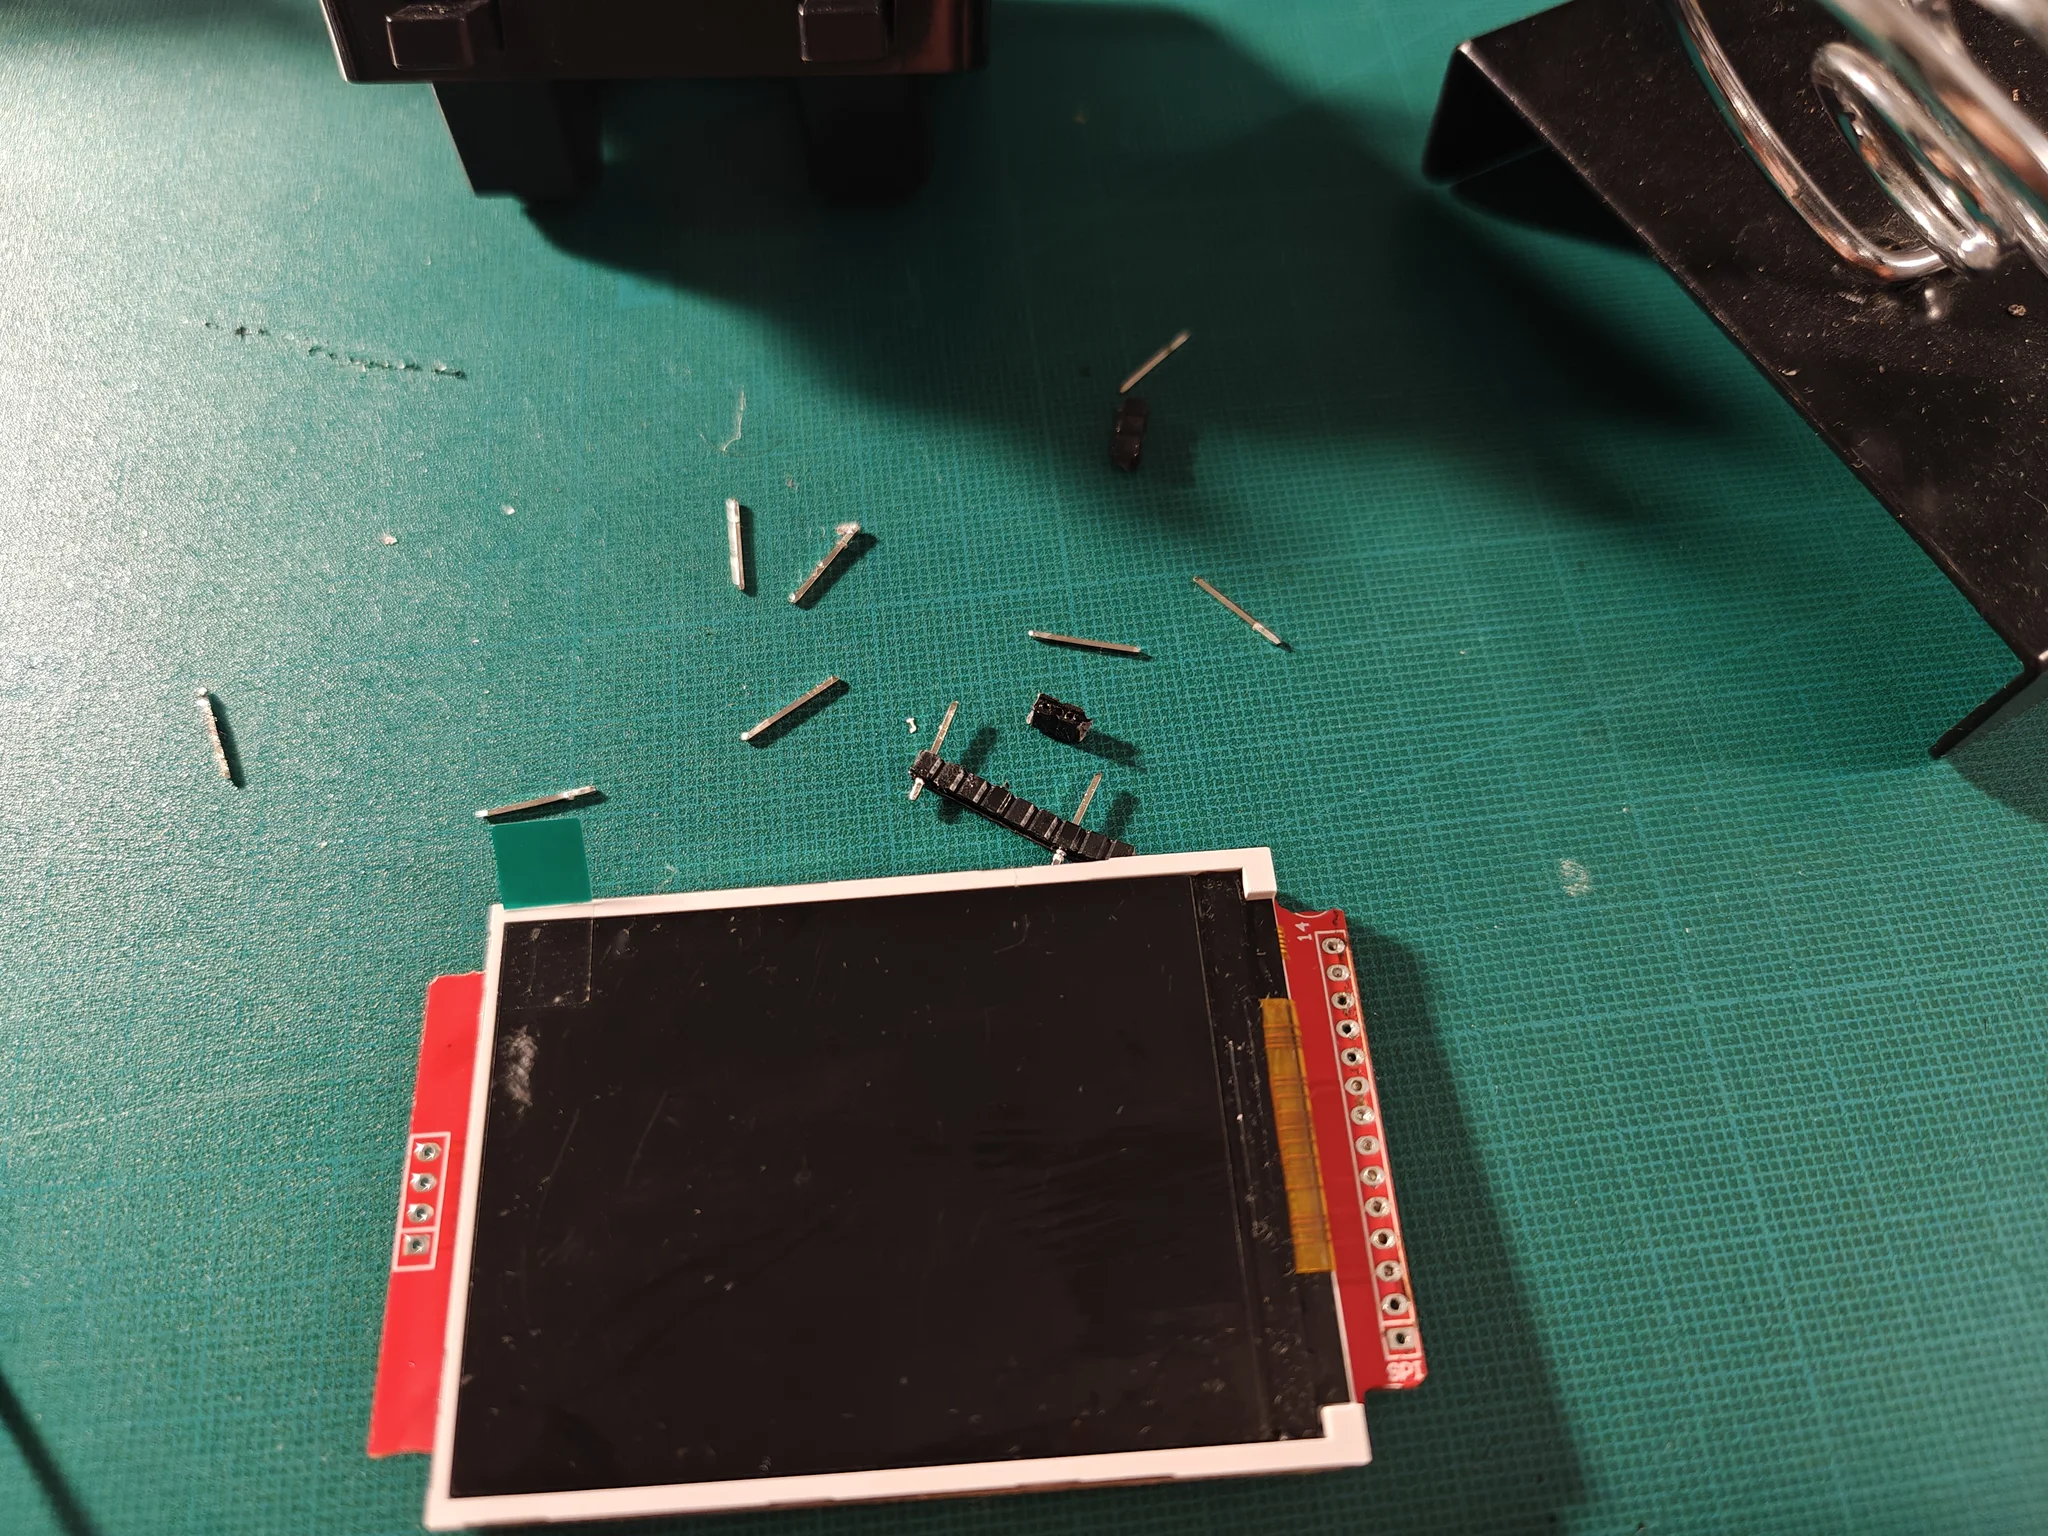
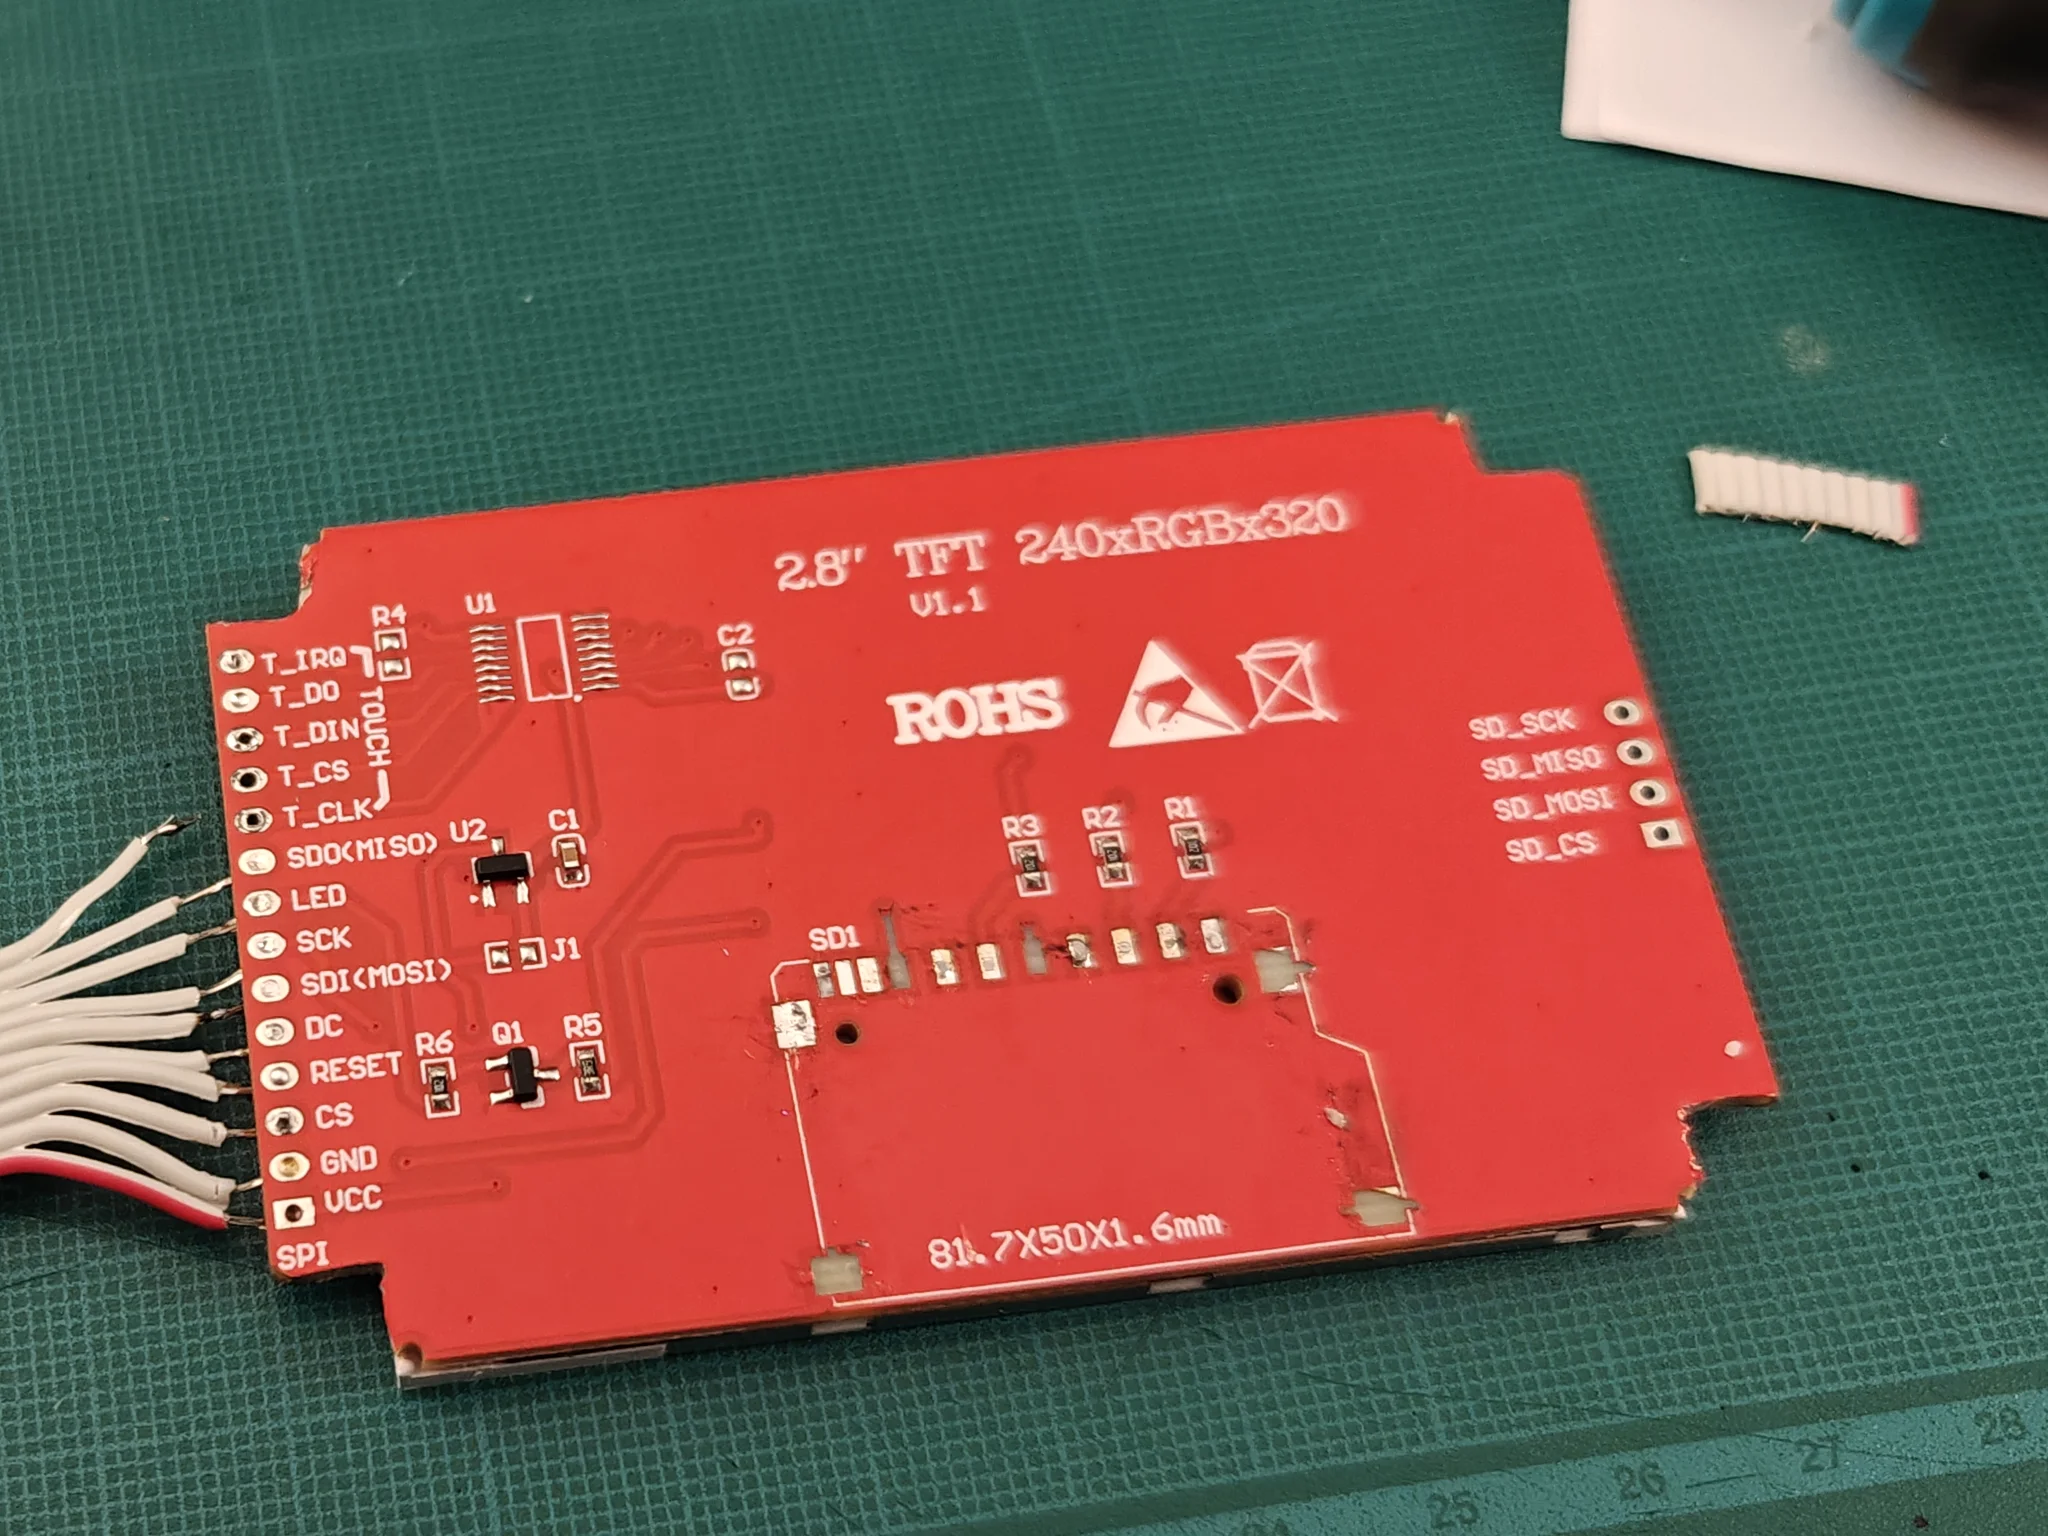
I also removed the pin headers, since the screen would not fit inside with them attached…
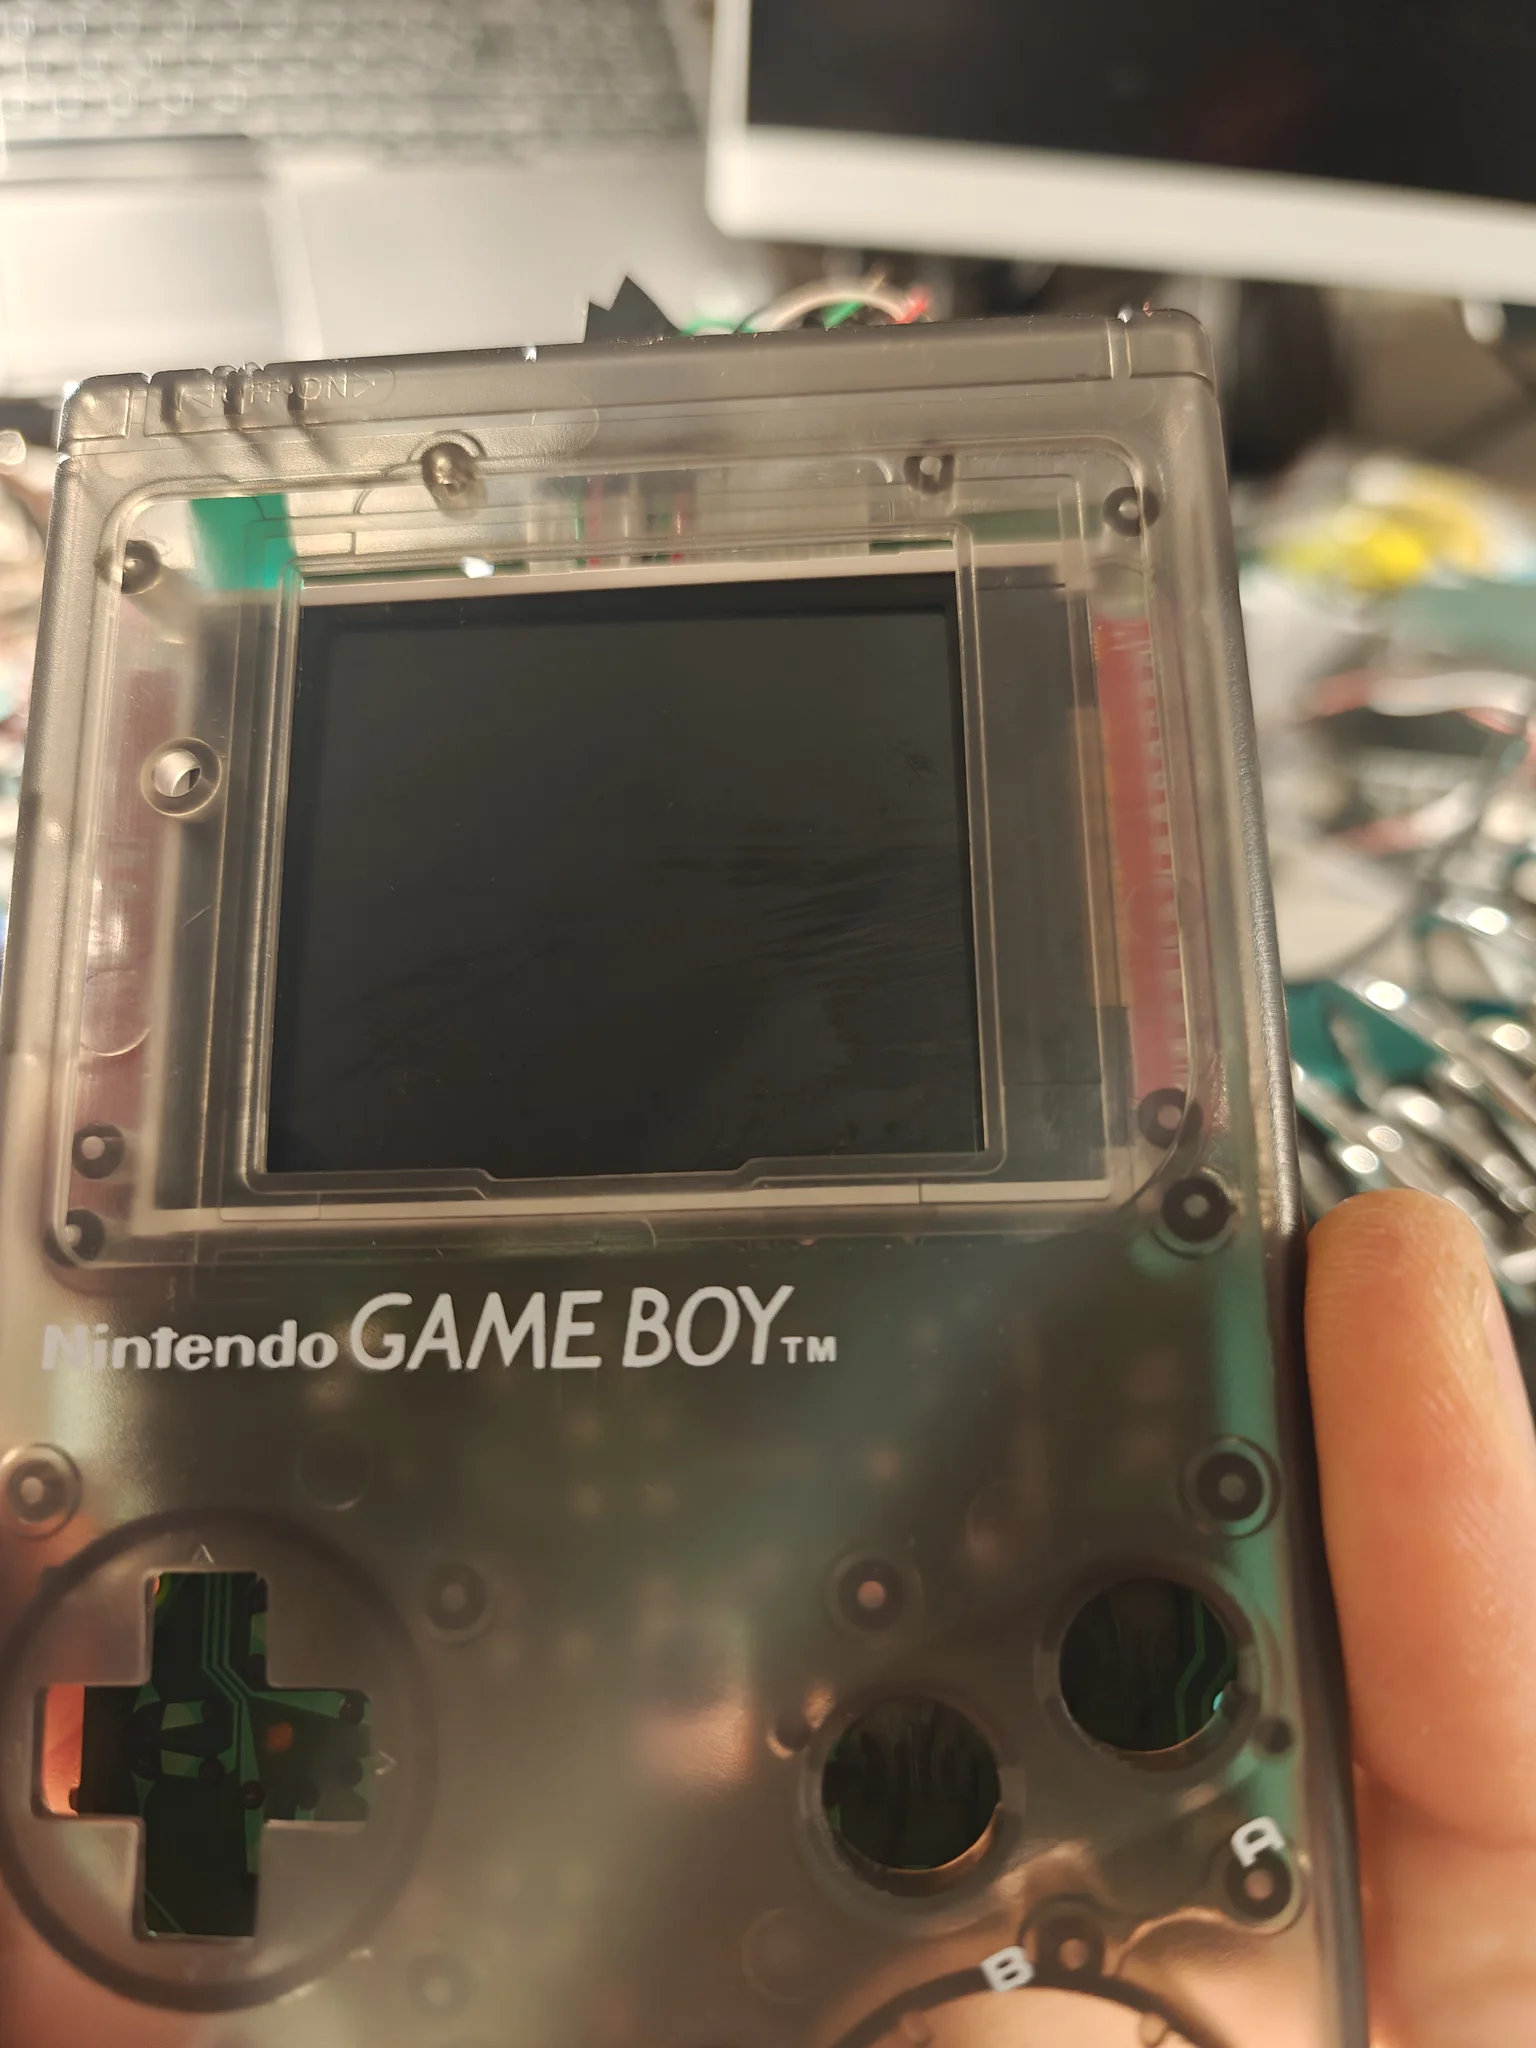
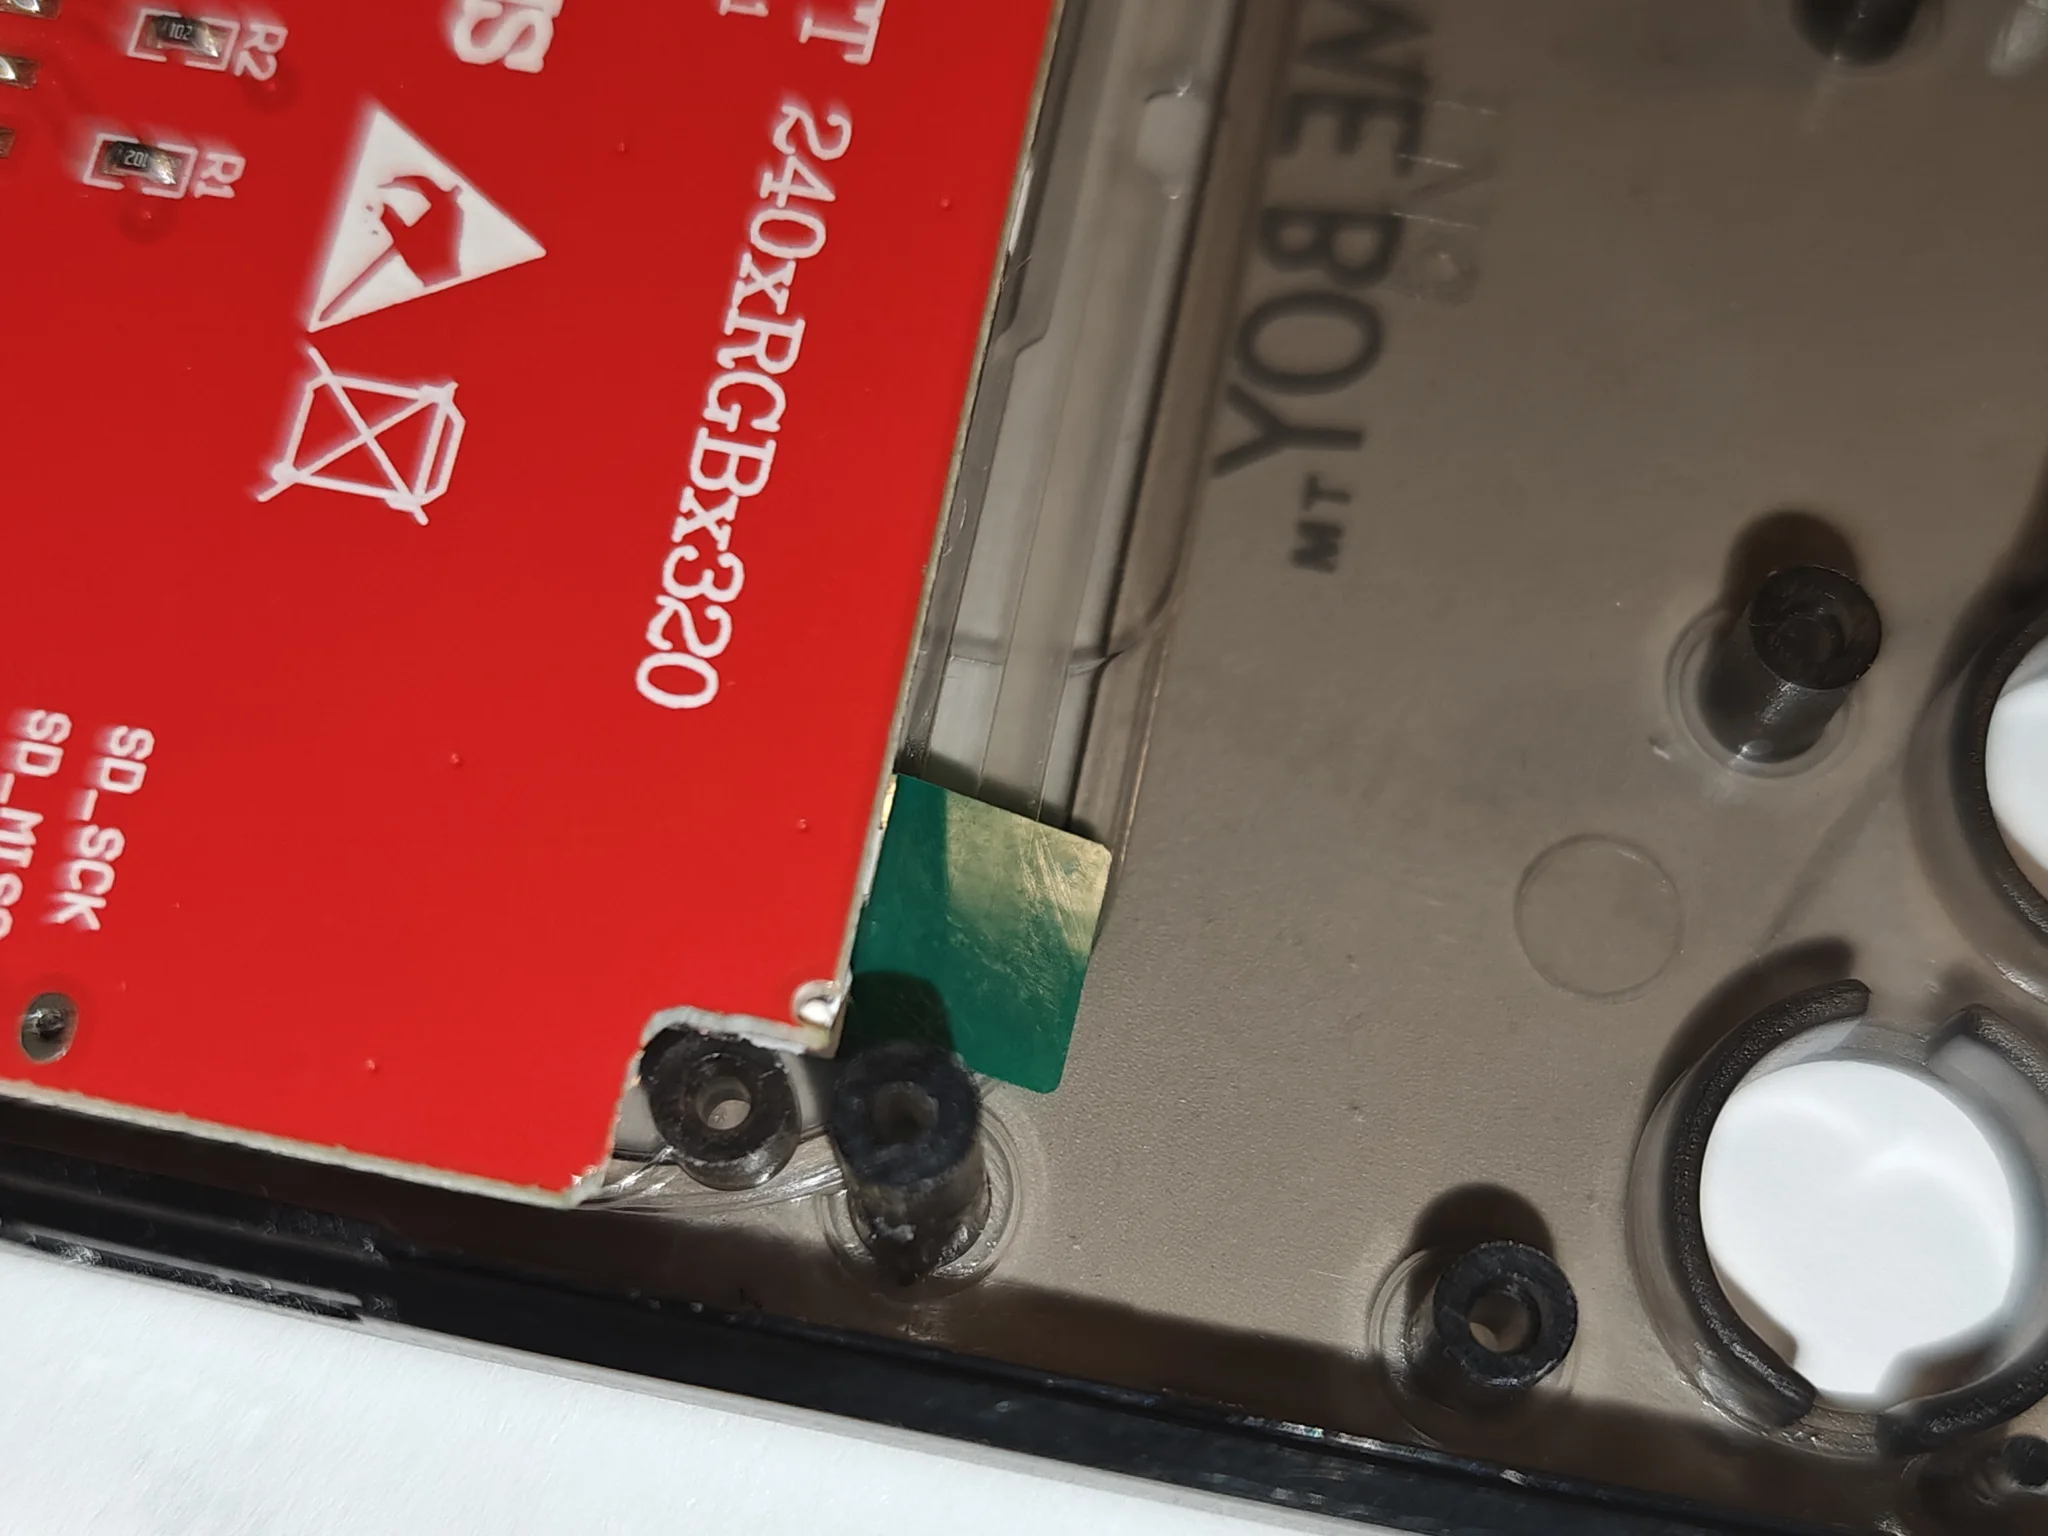
Visual check
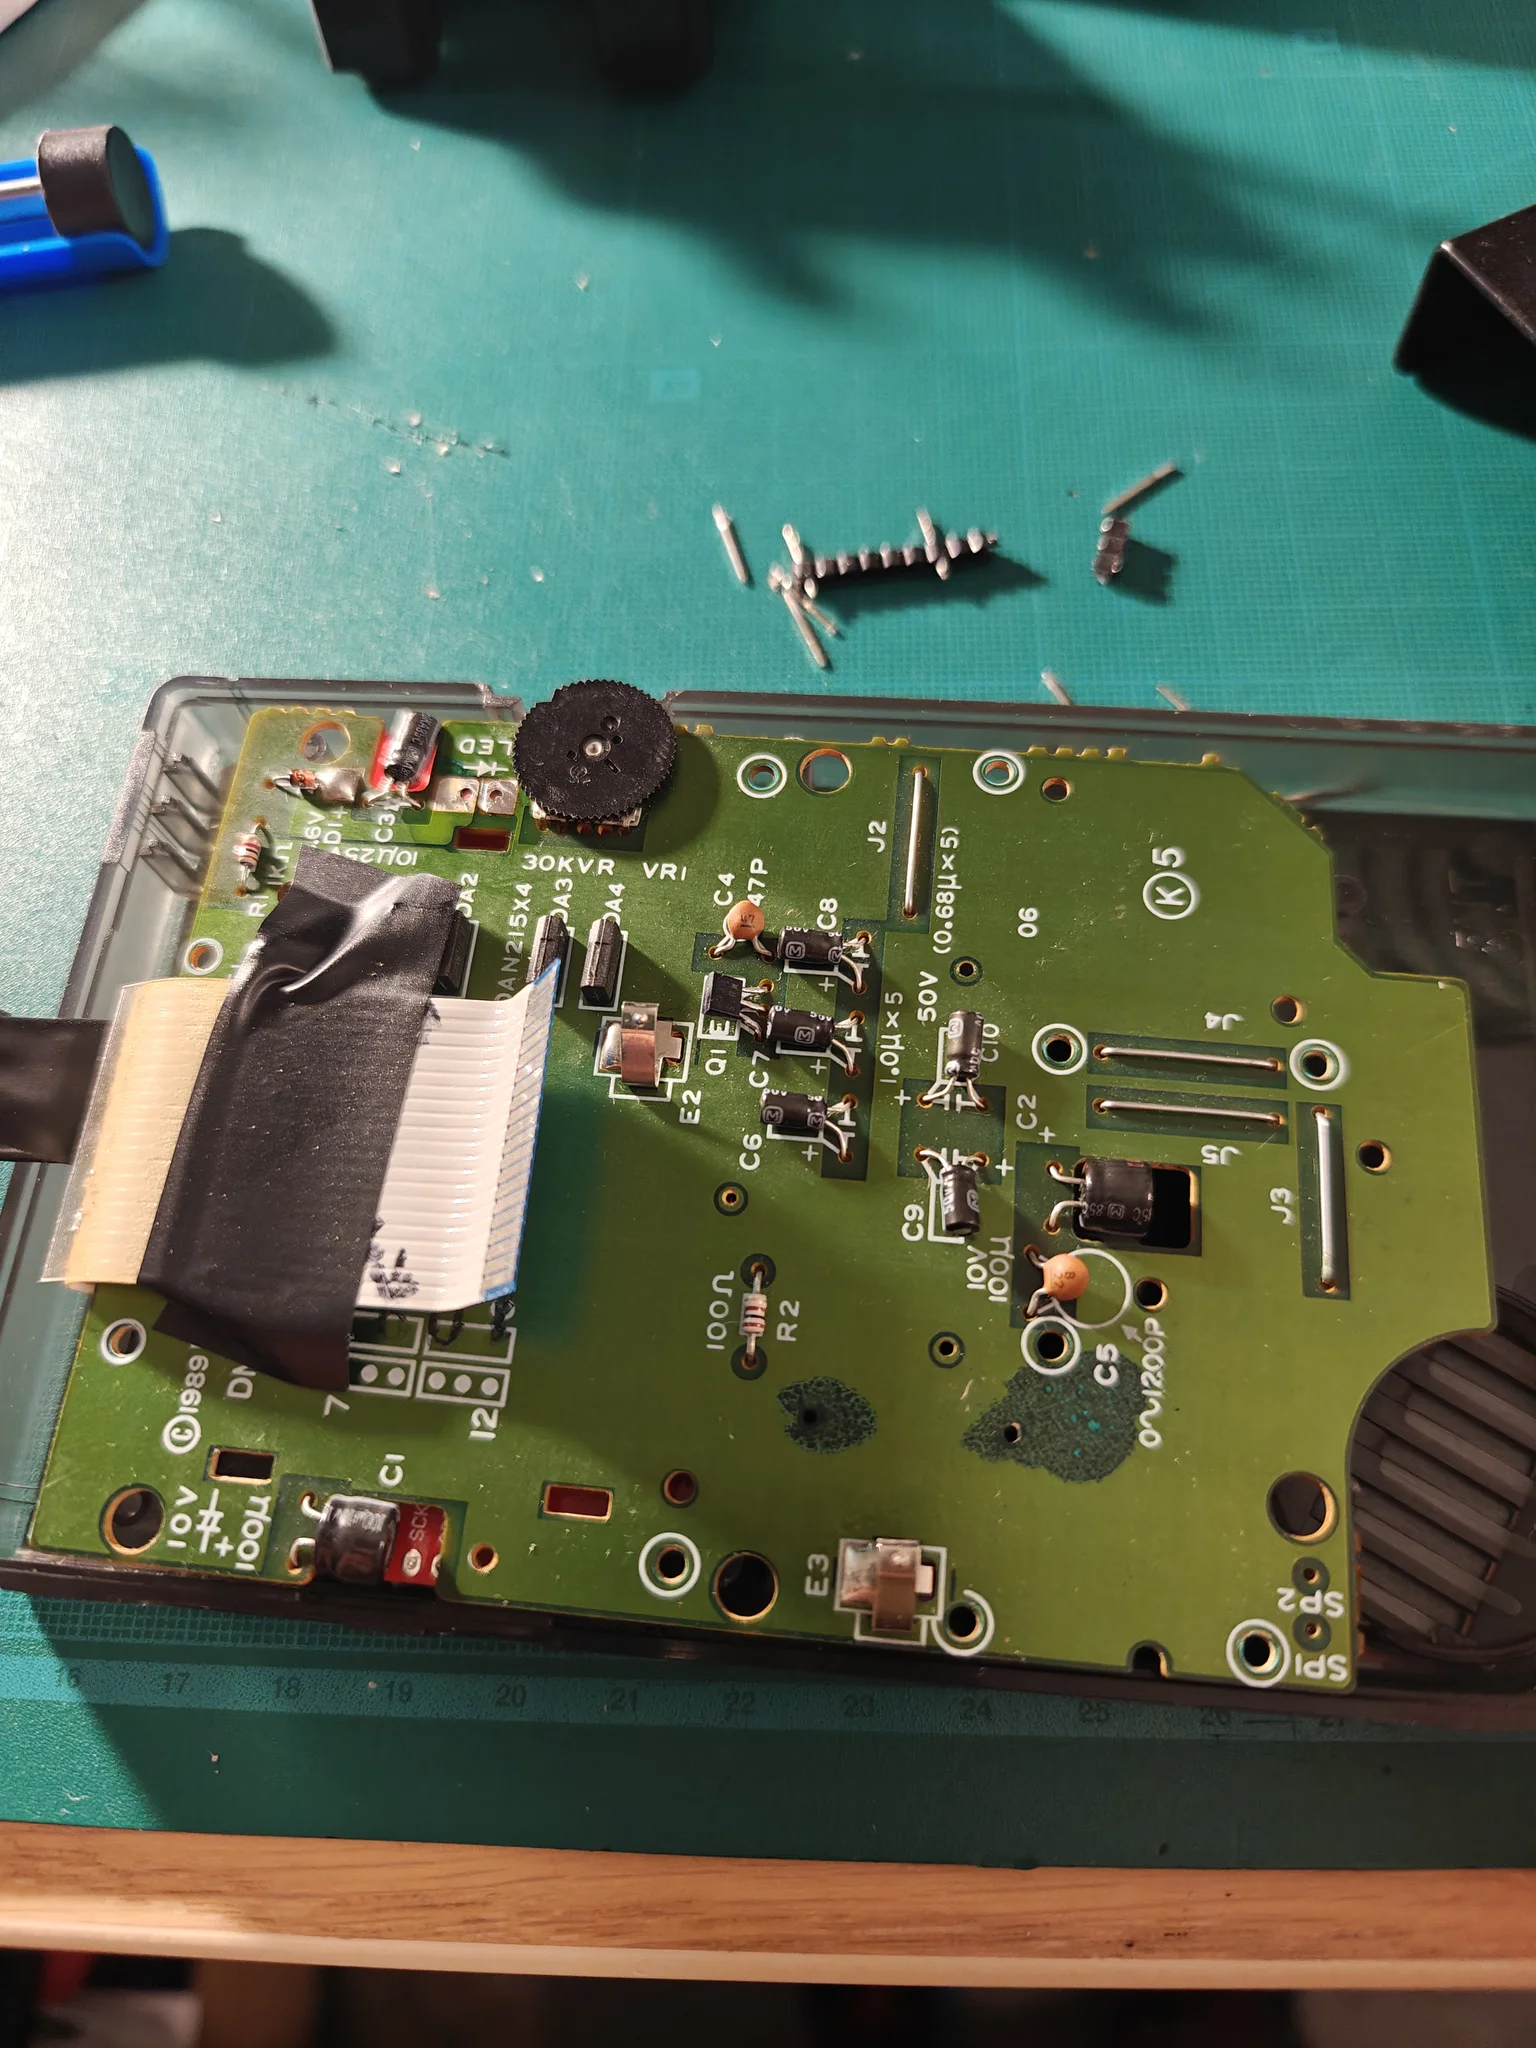
DMG-LCD-06 sitting where it belongs.
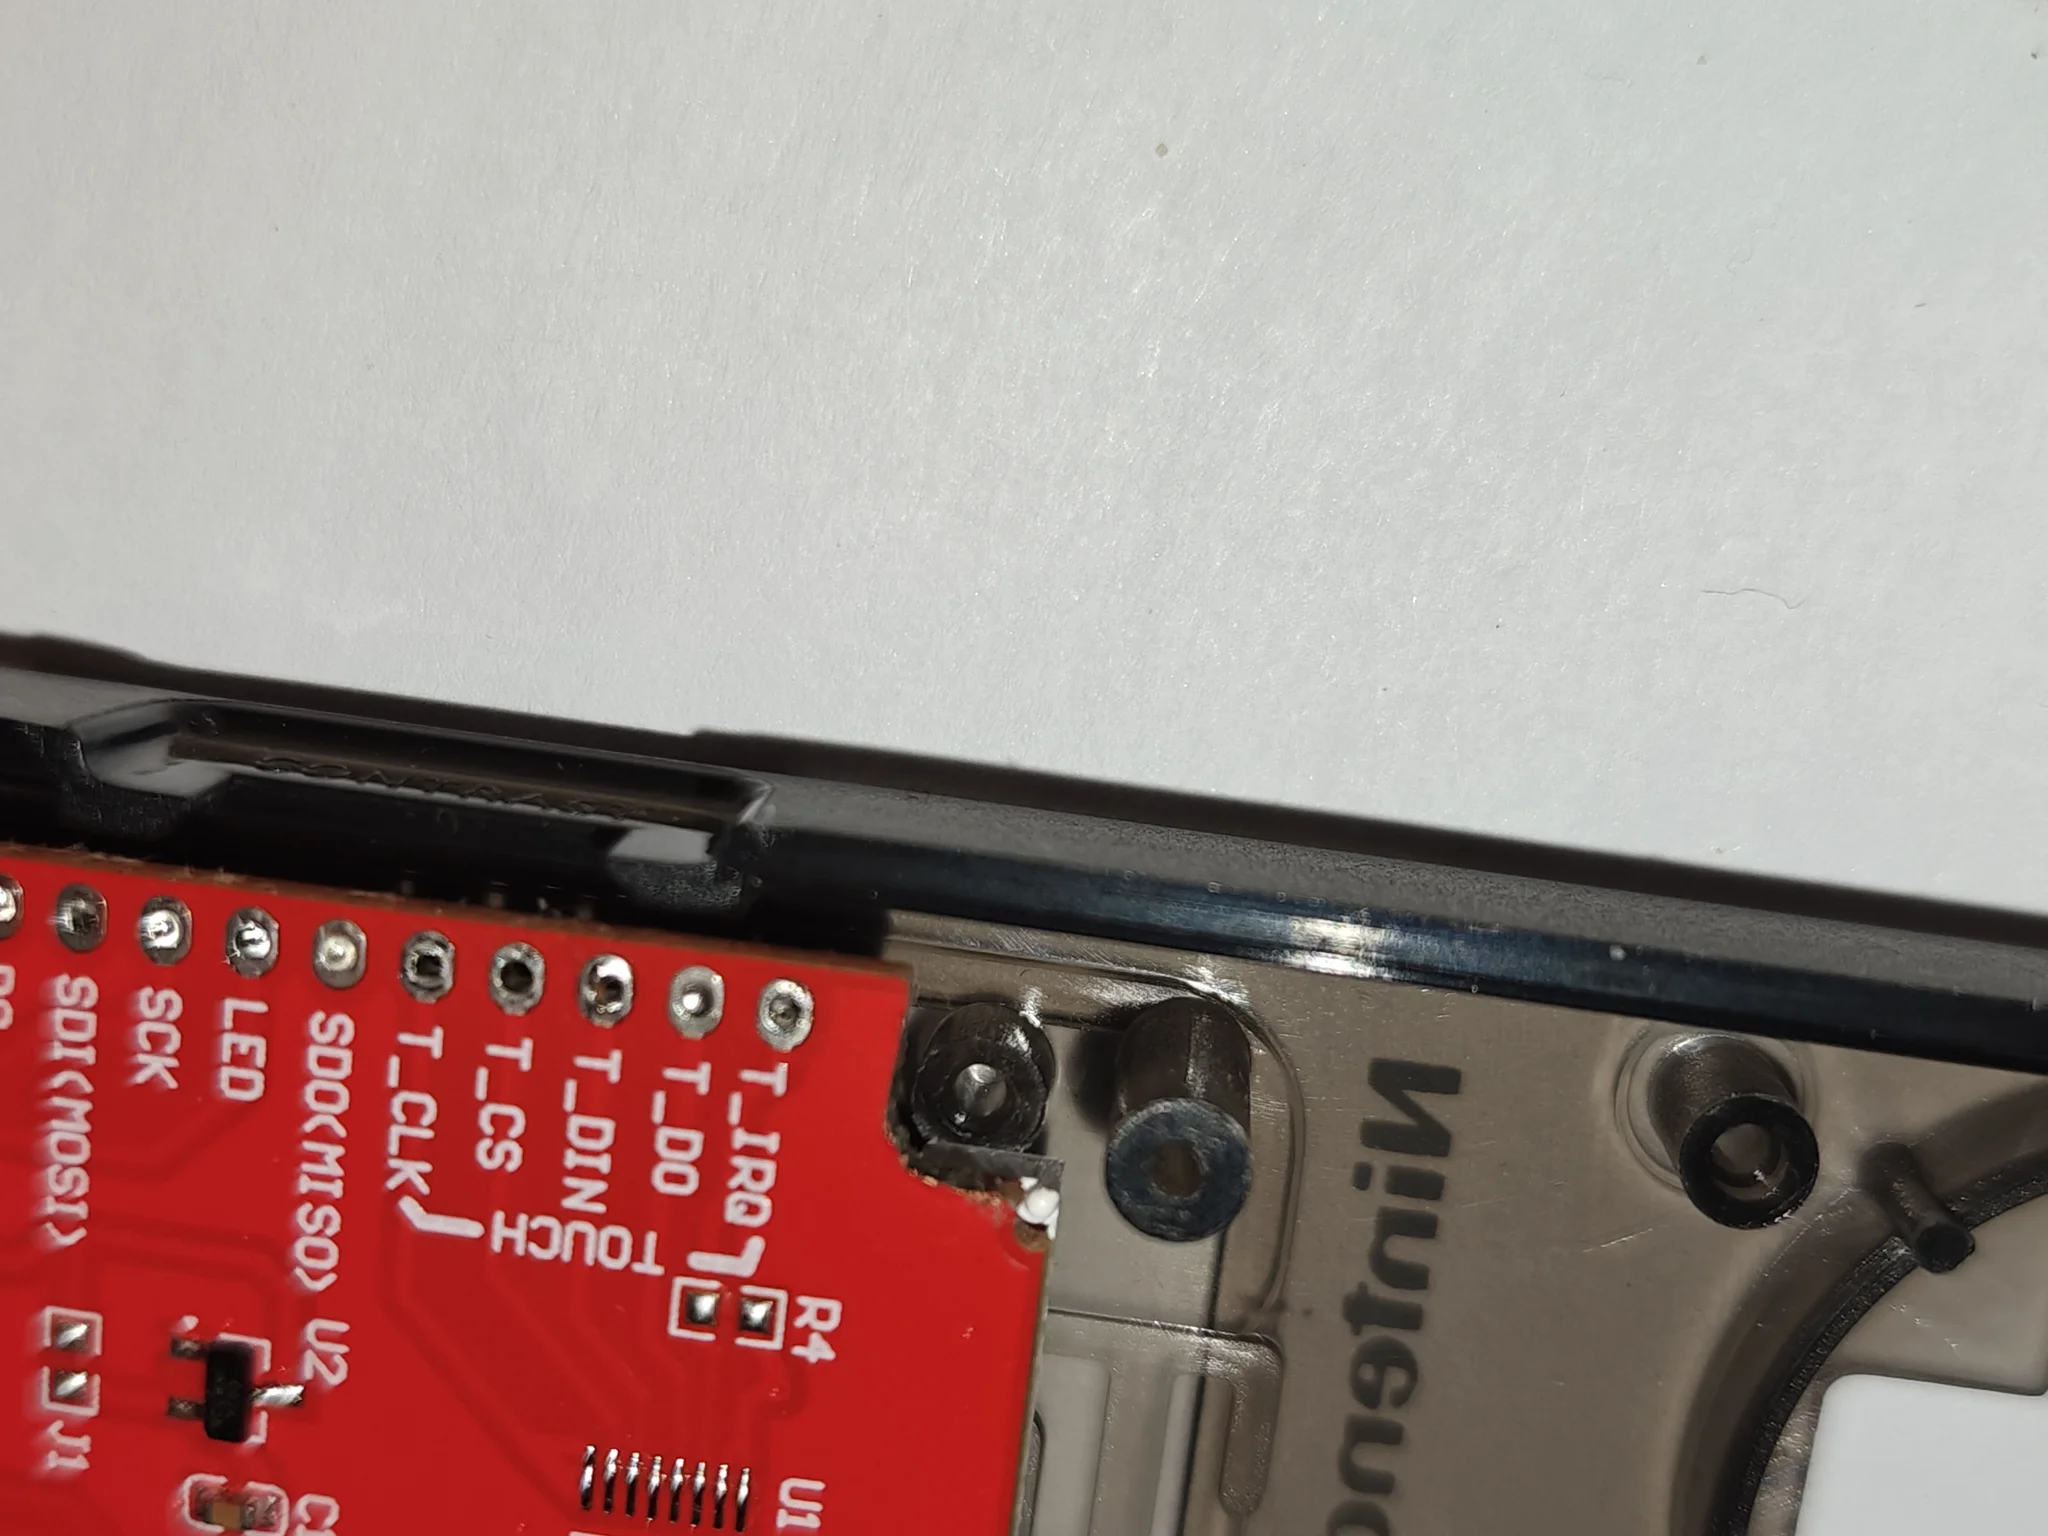
More fitting and placement tests:
Cabling the screen:
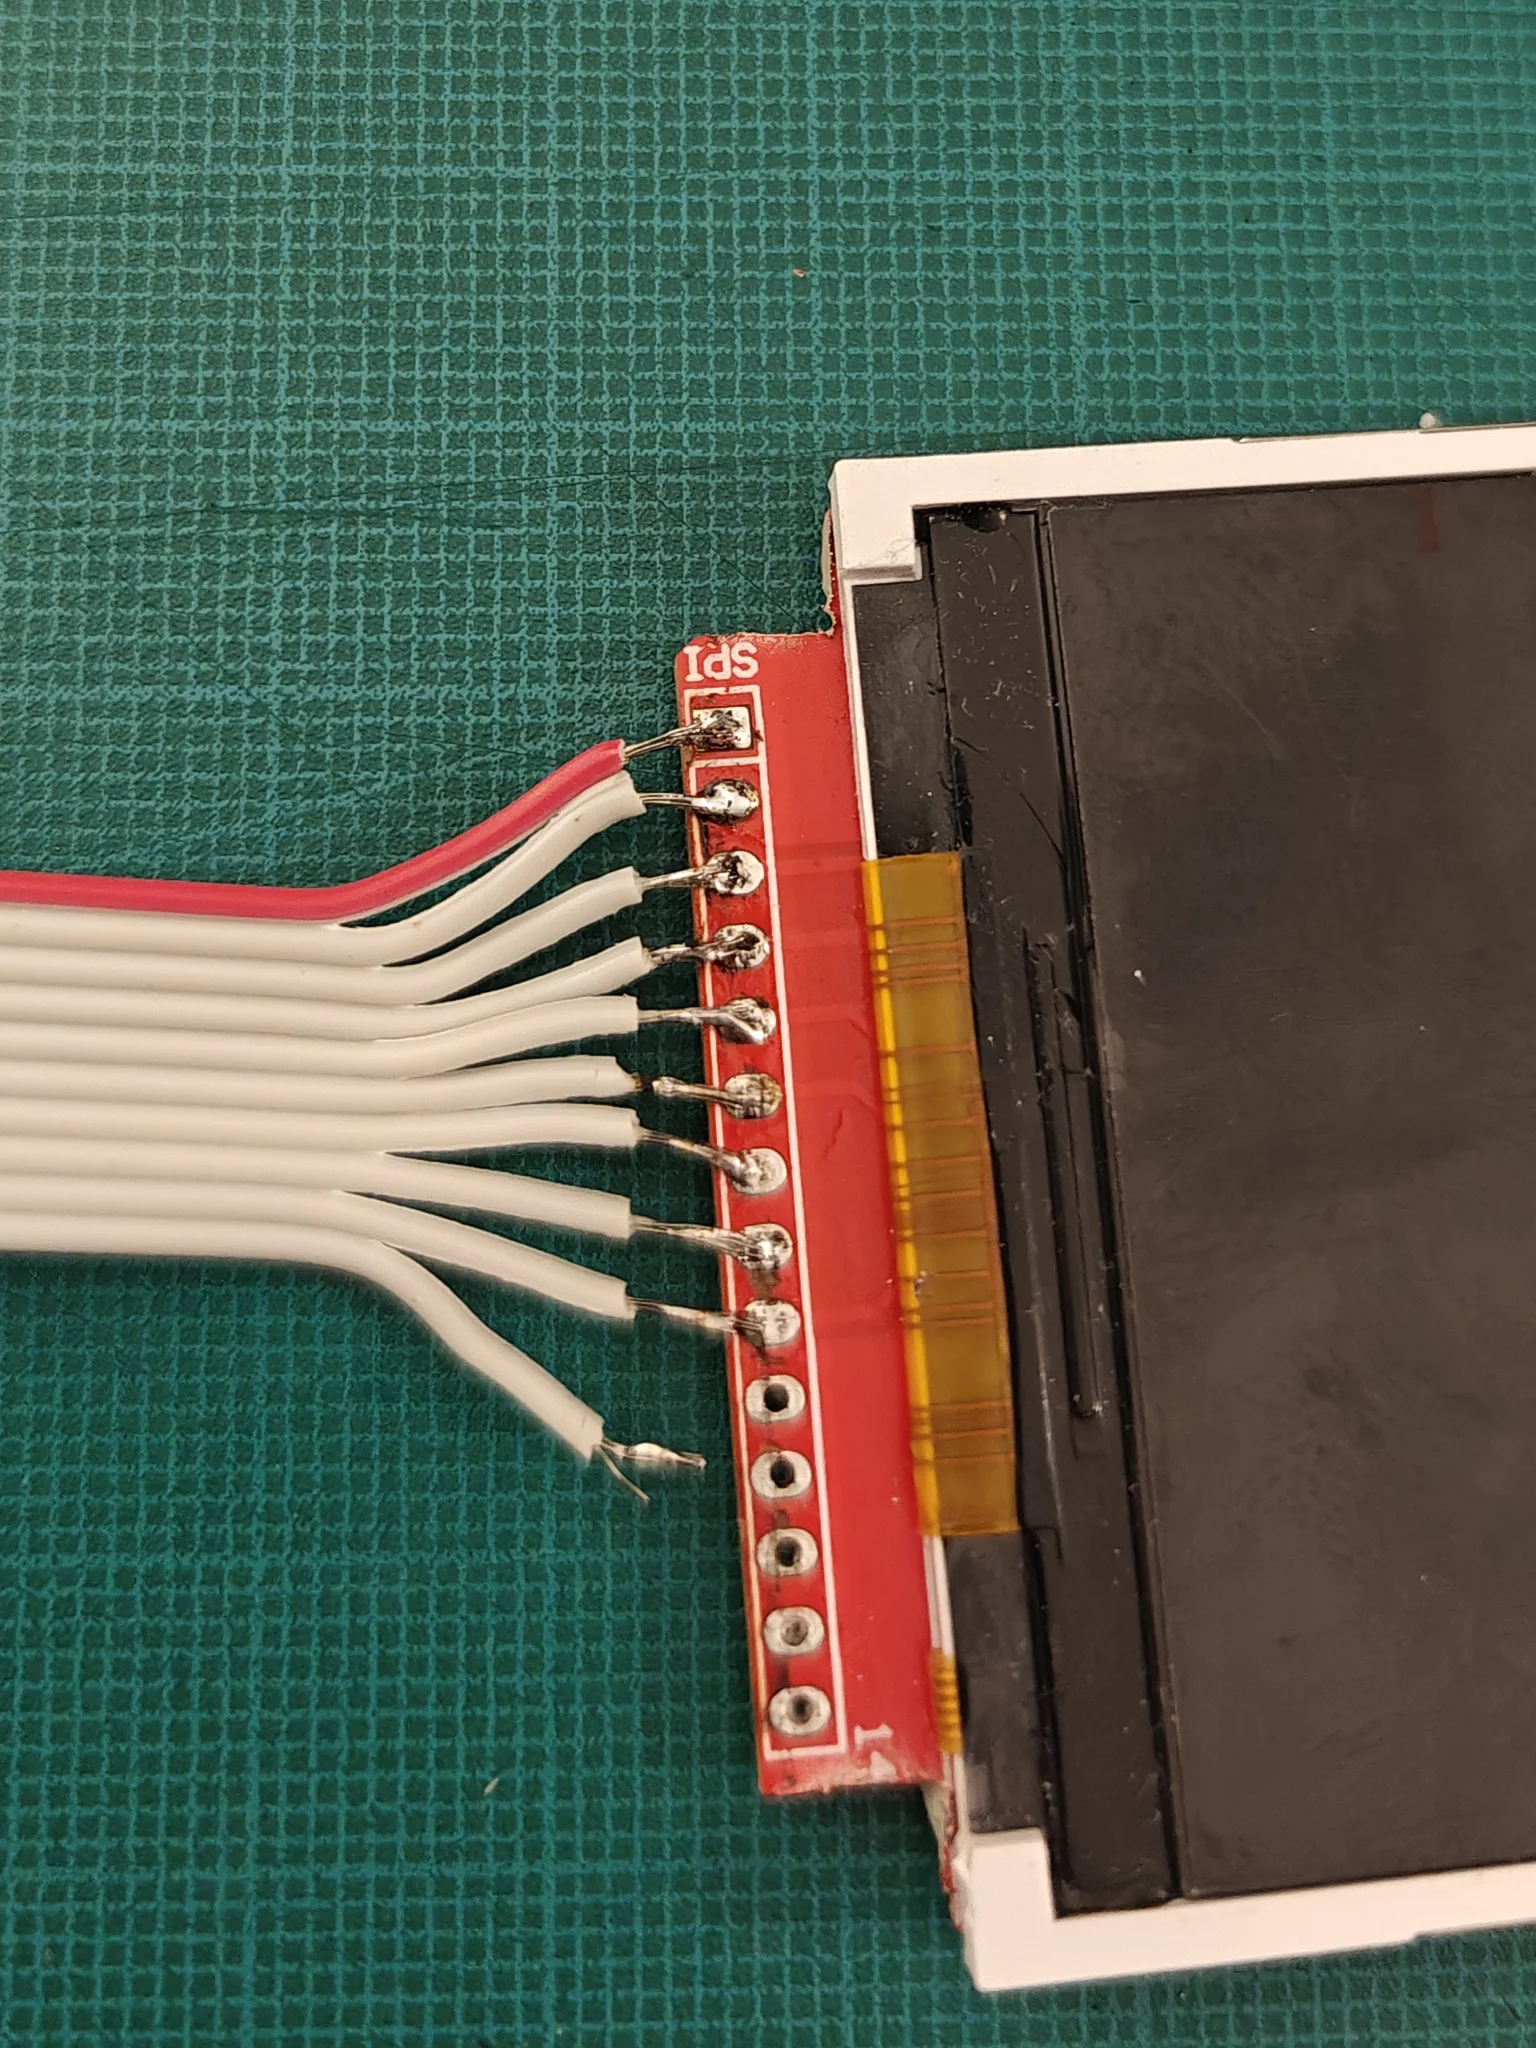
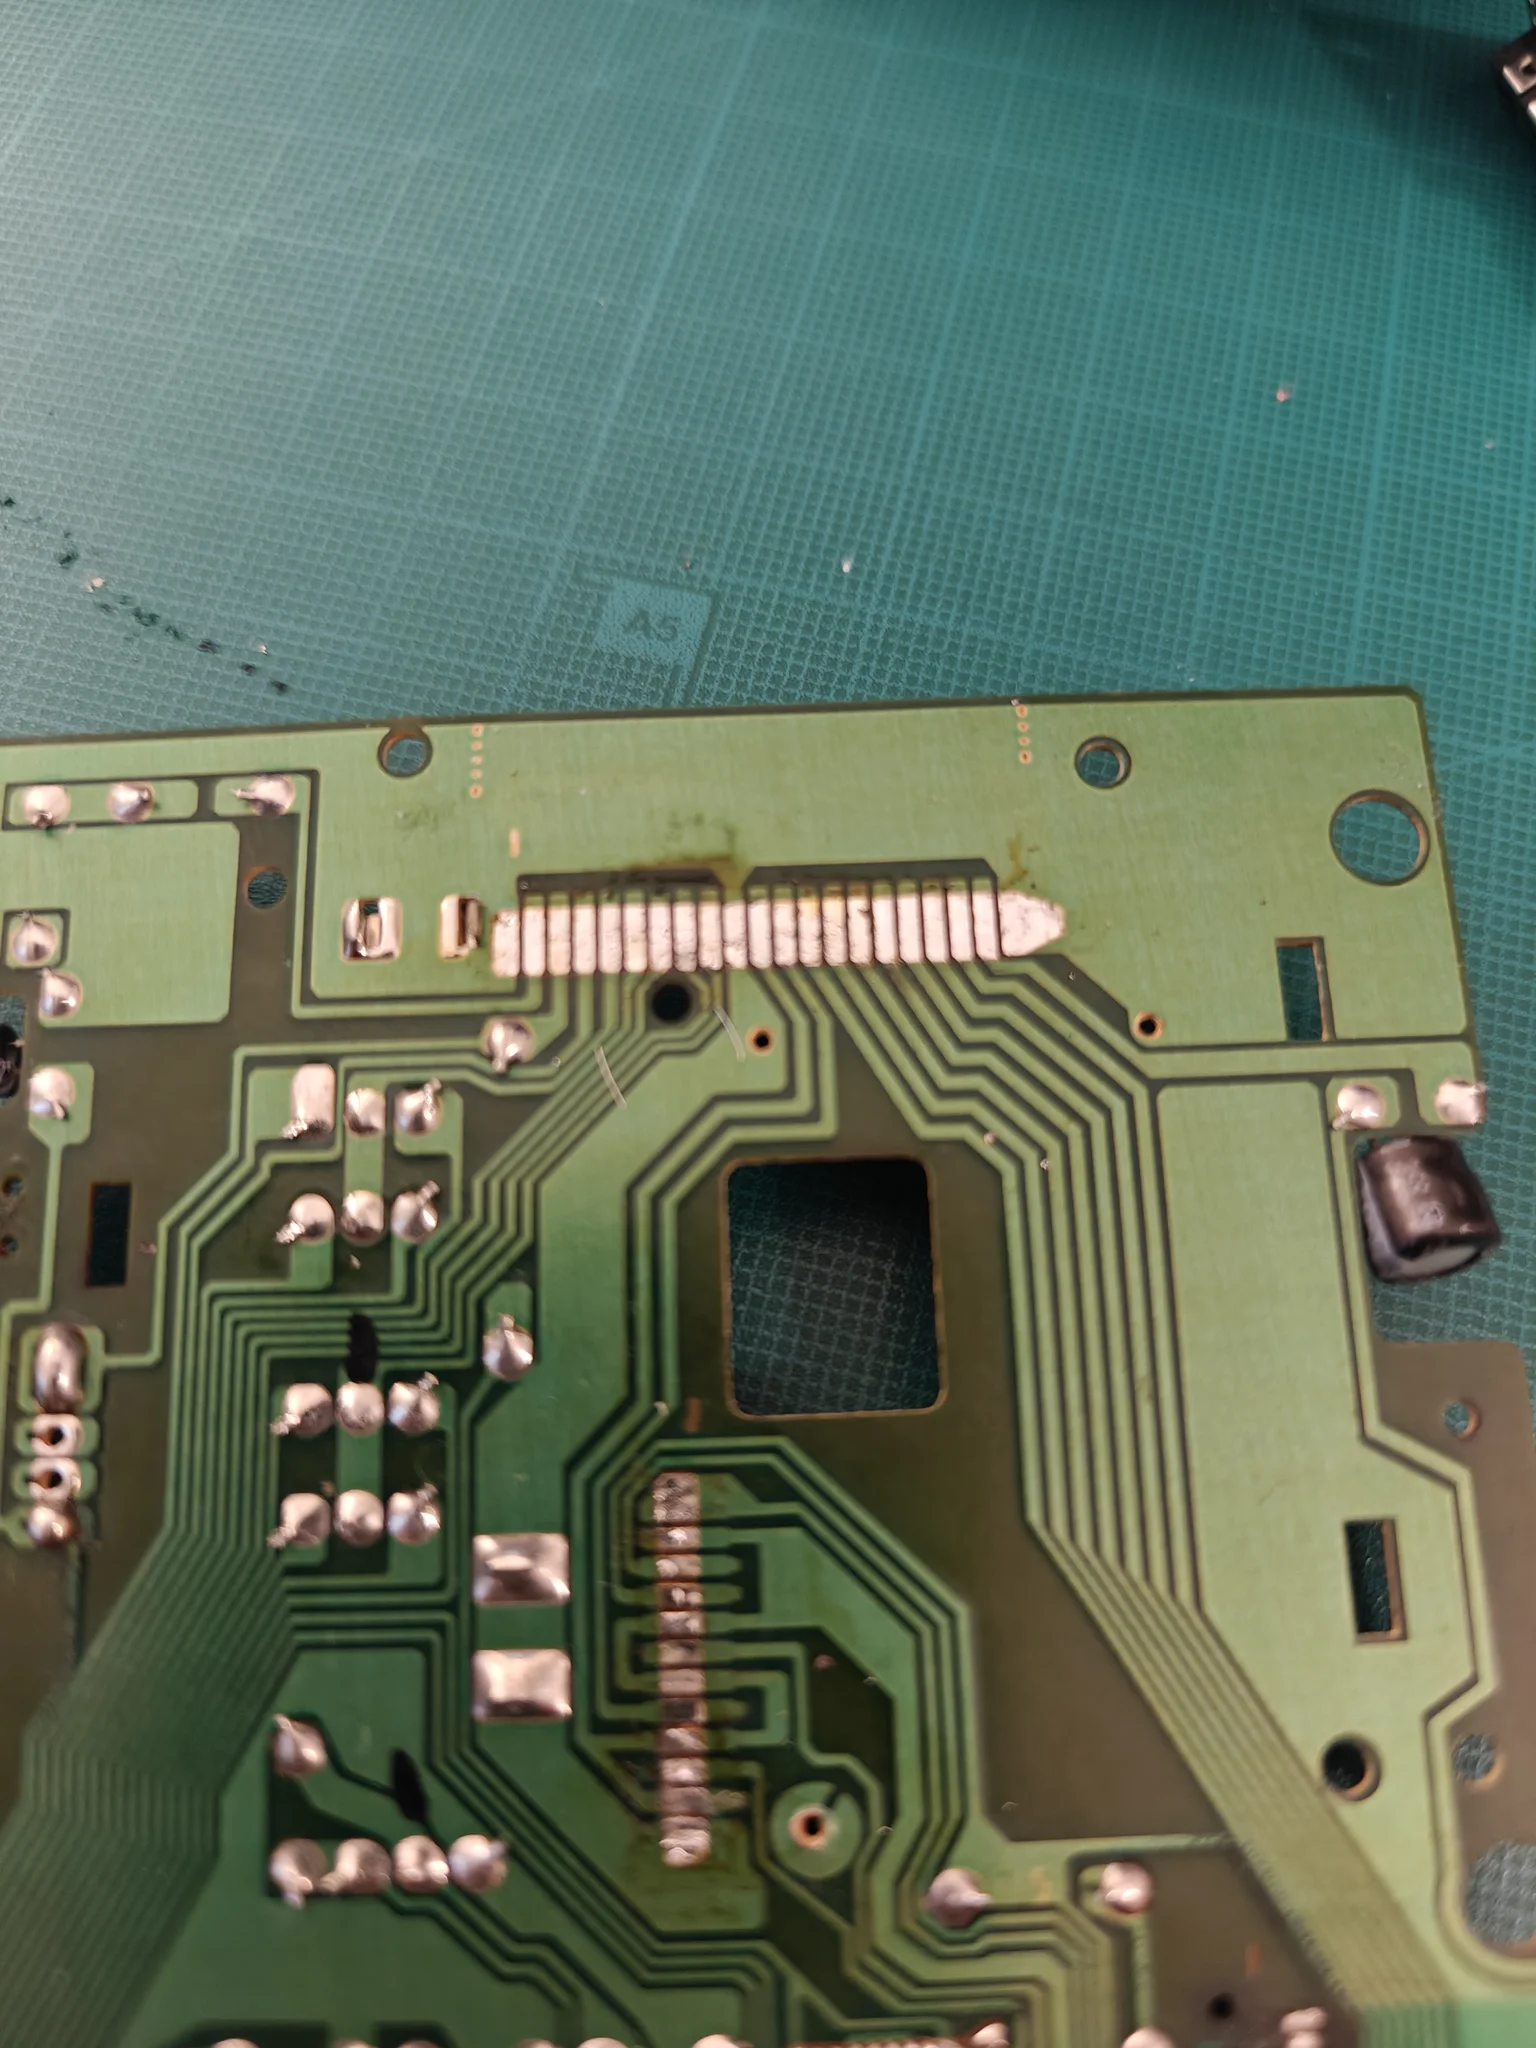
Removed the original ribbon cable from the DMG-LCD-06:
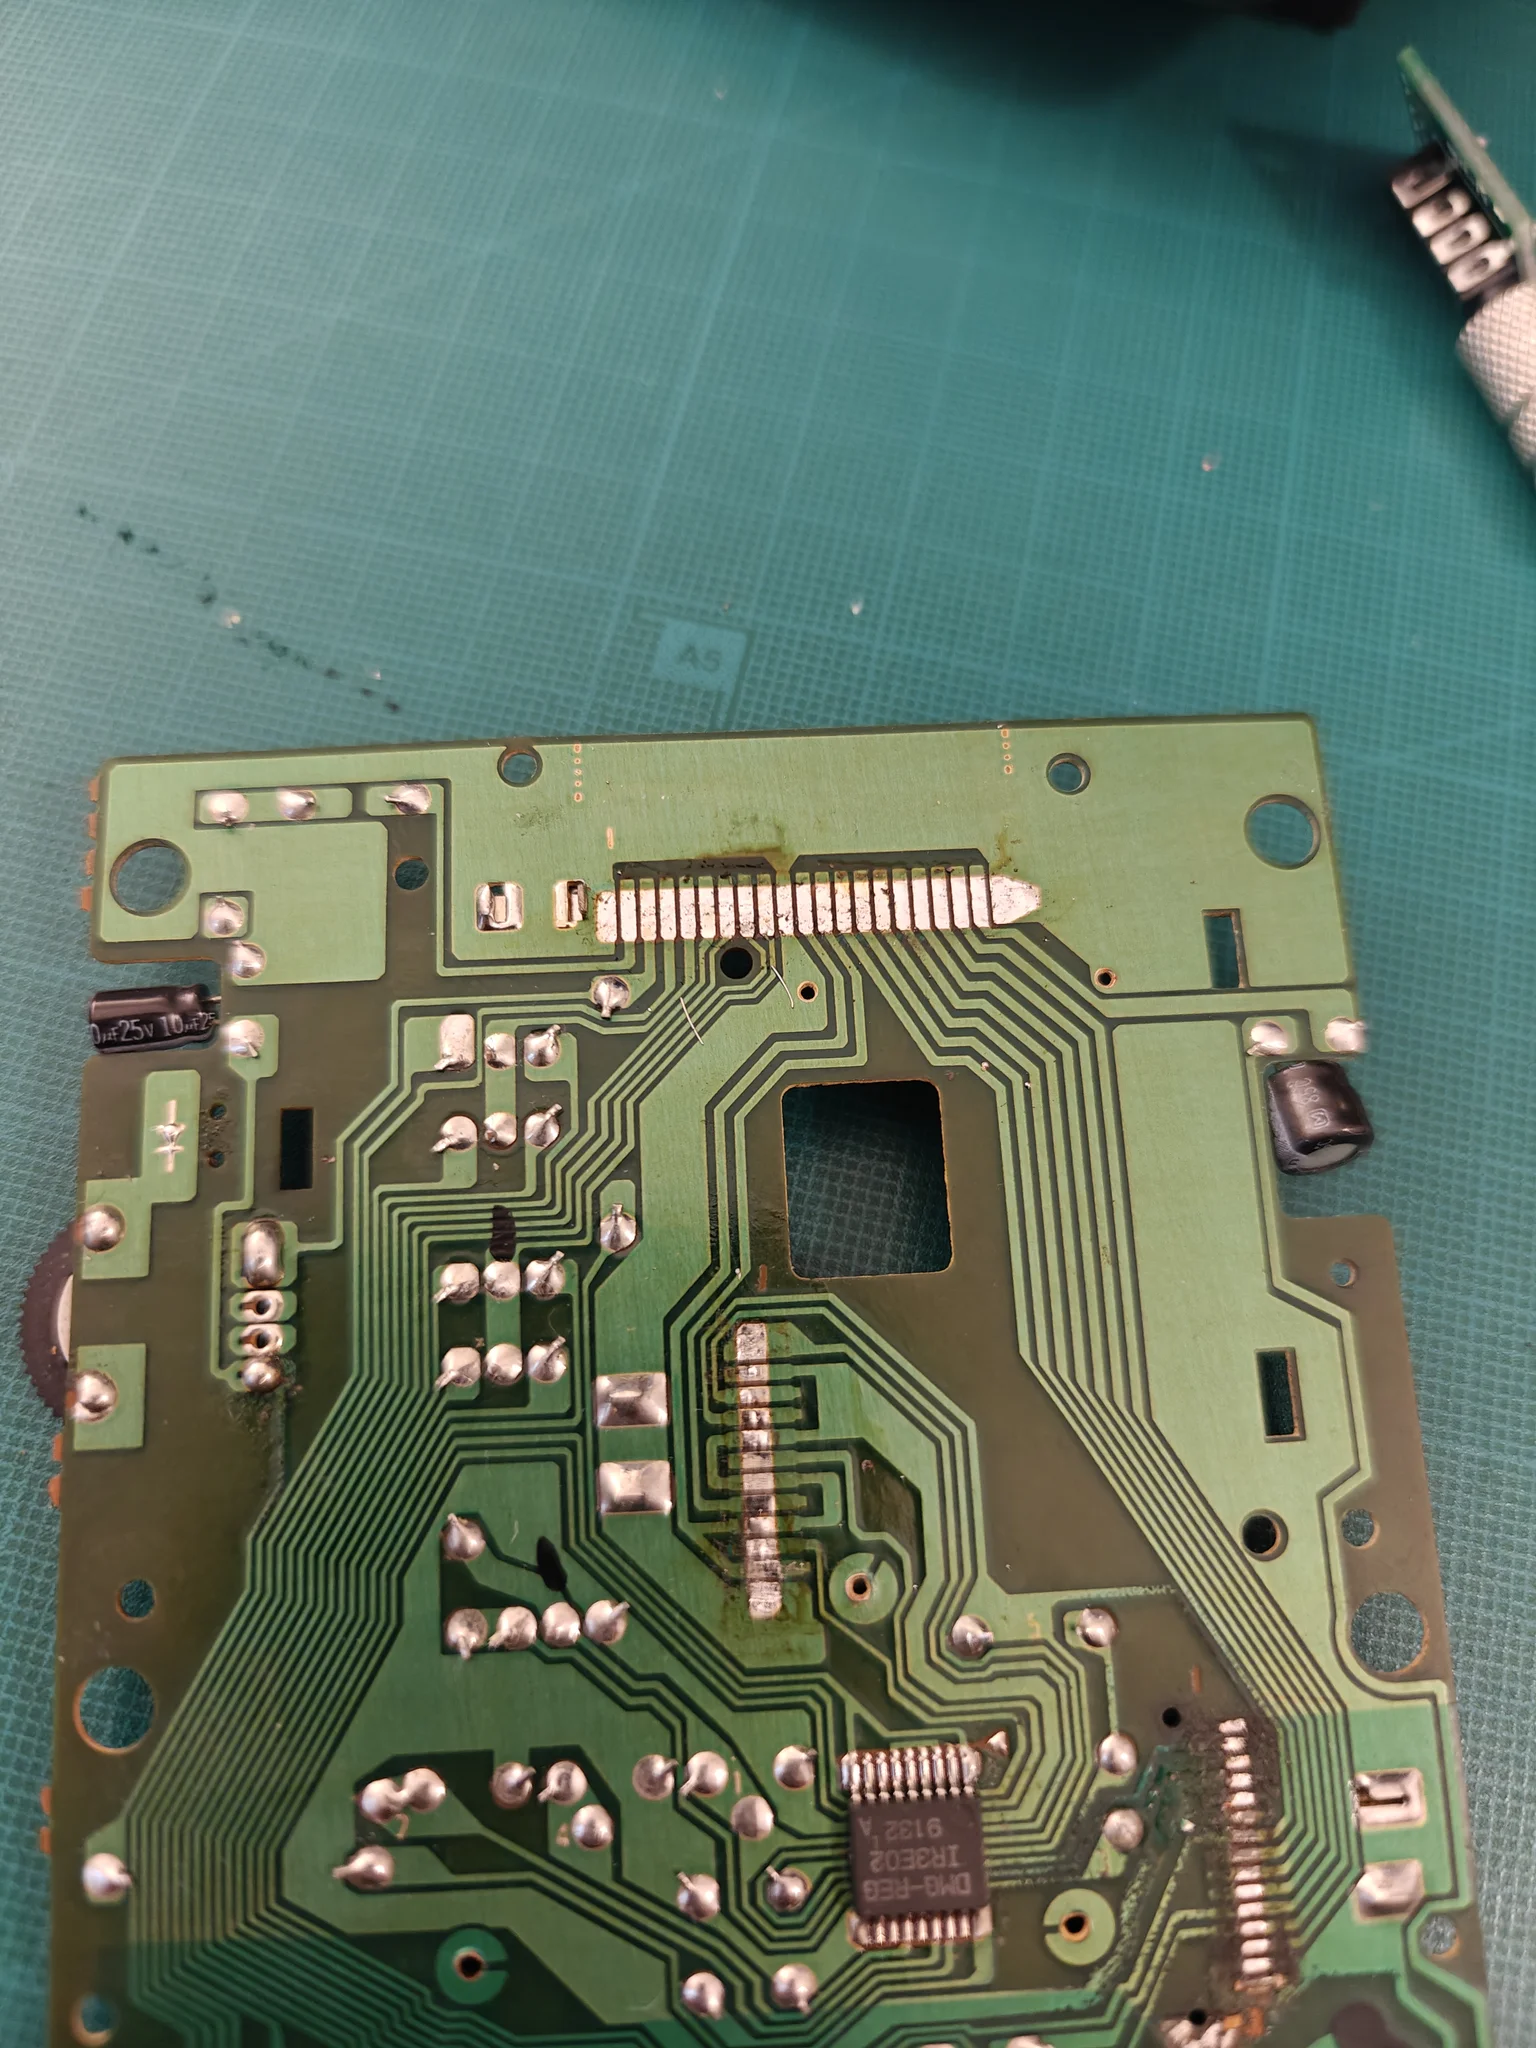
And soldered the new ribbon with only the needed pins attached:

Looks good, right?
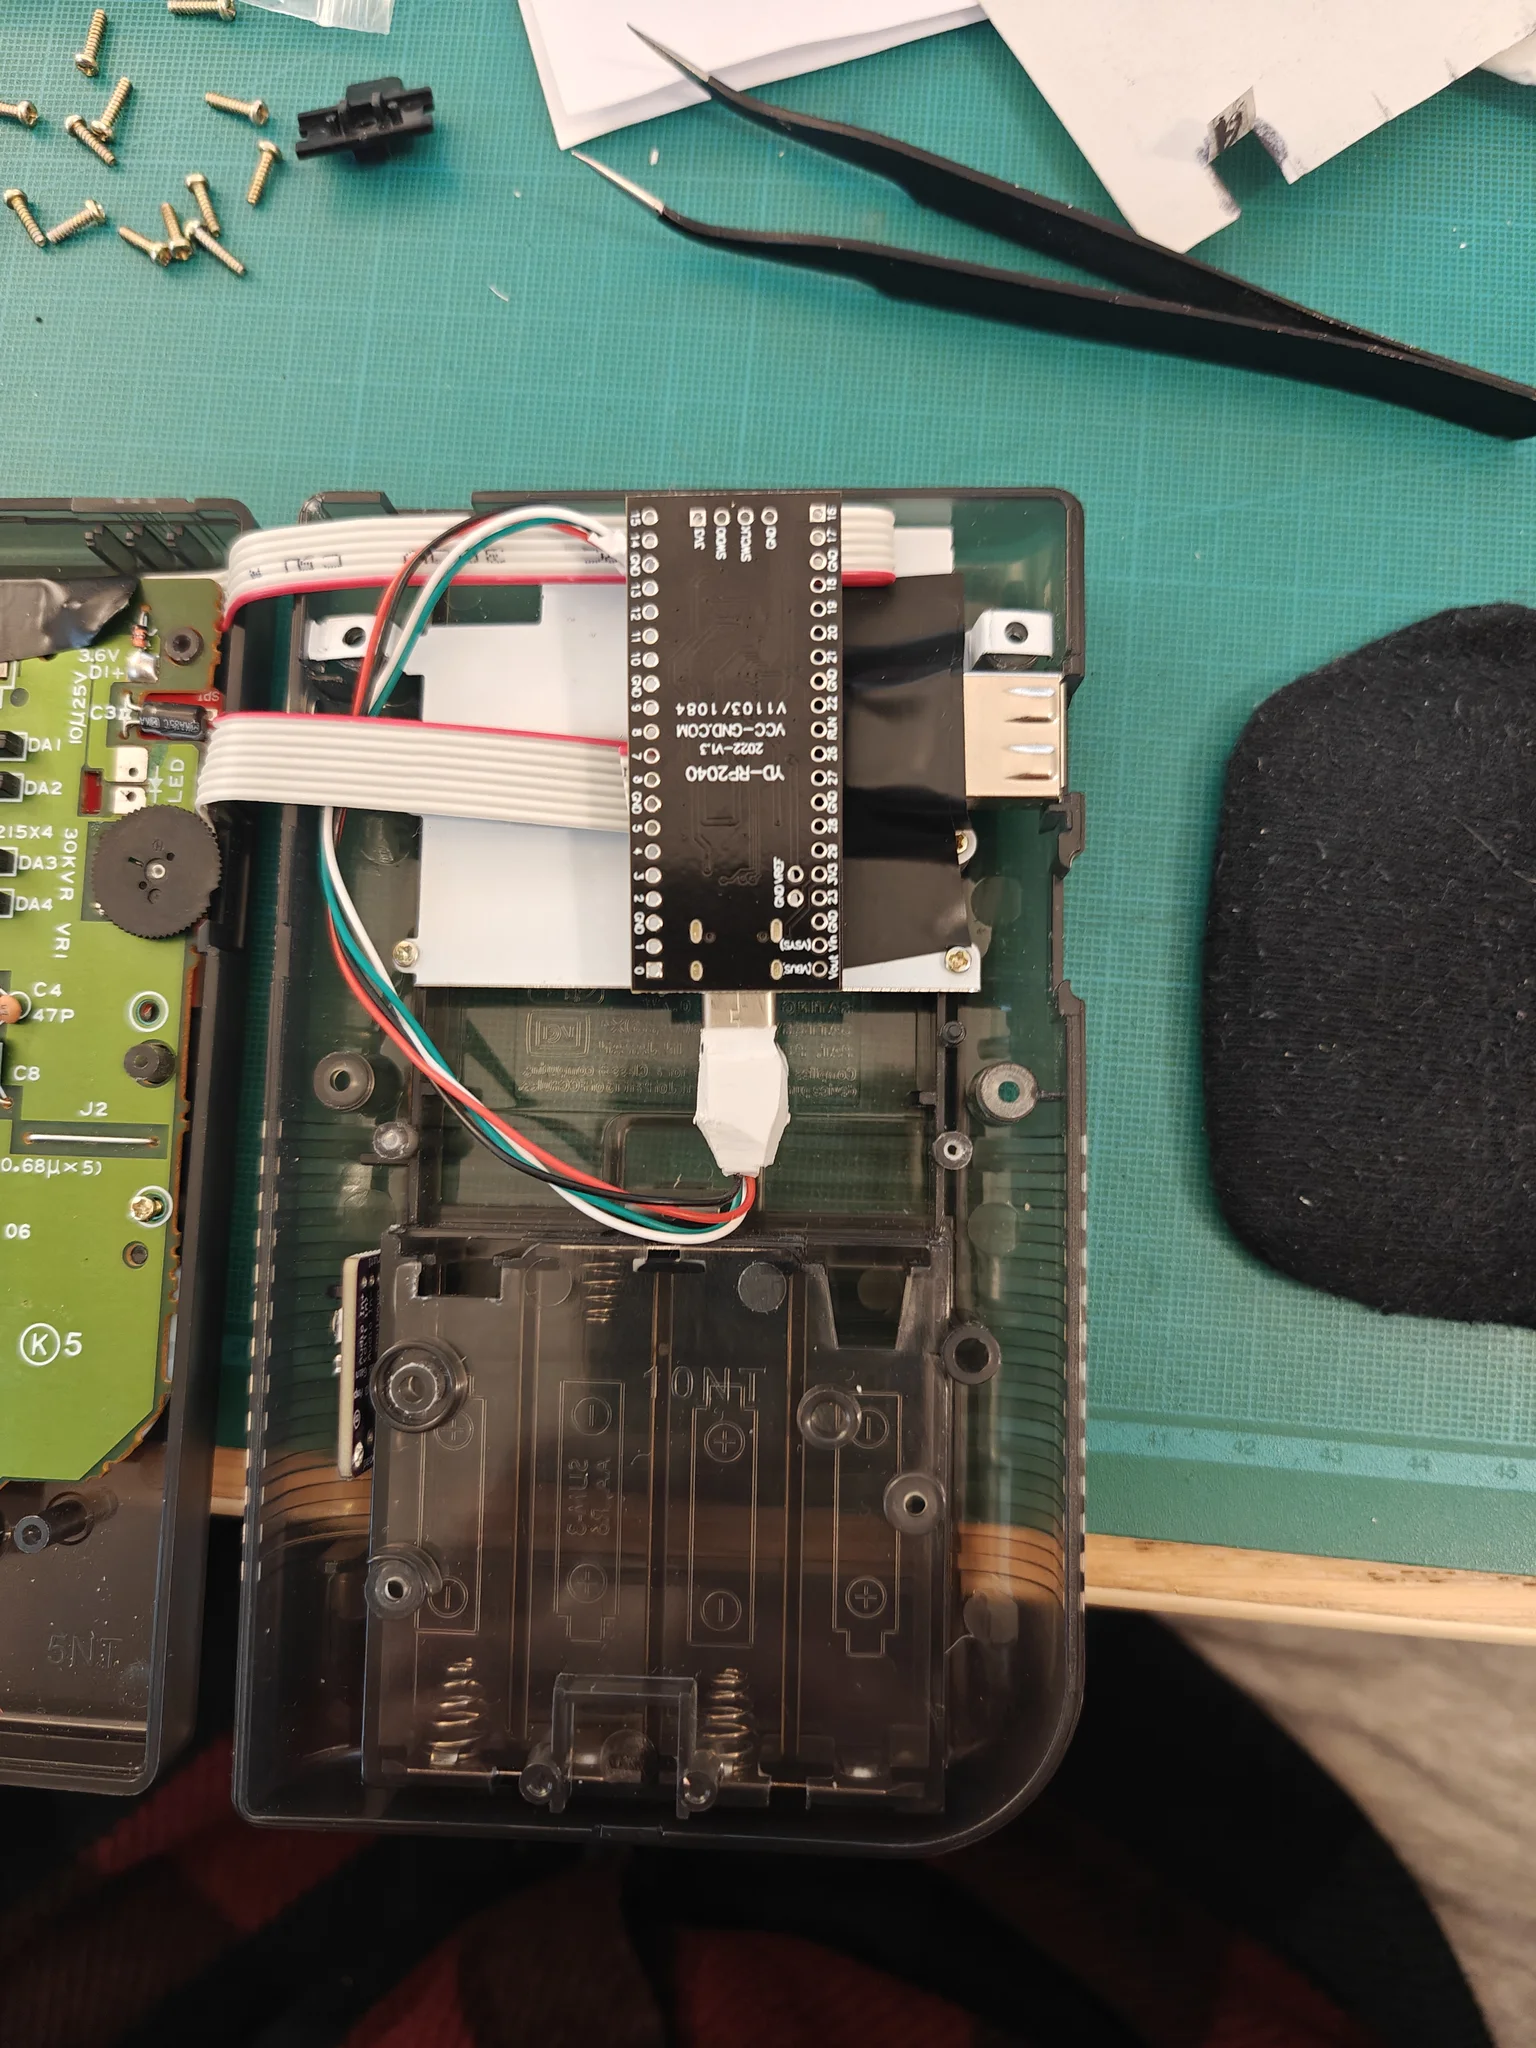
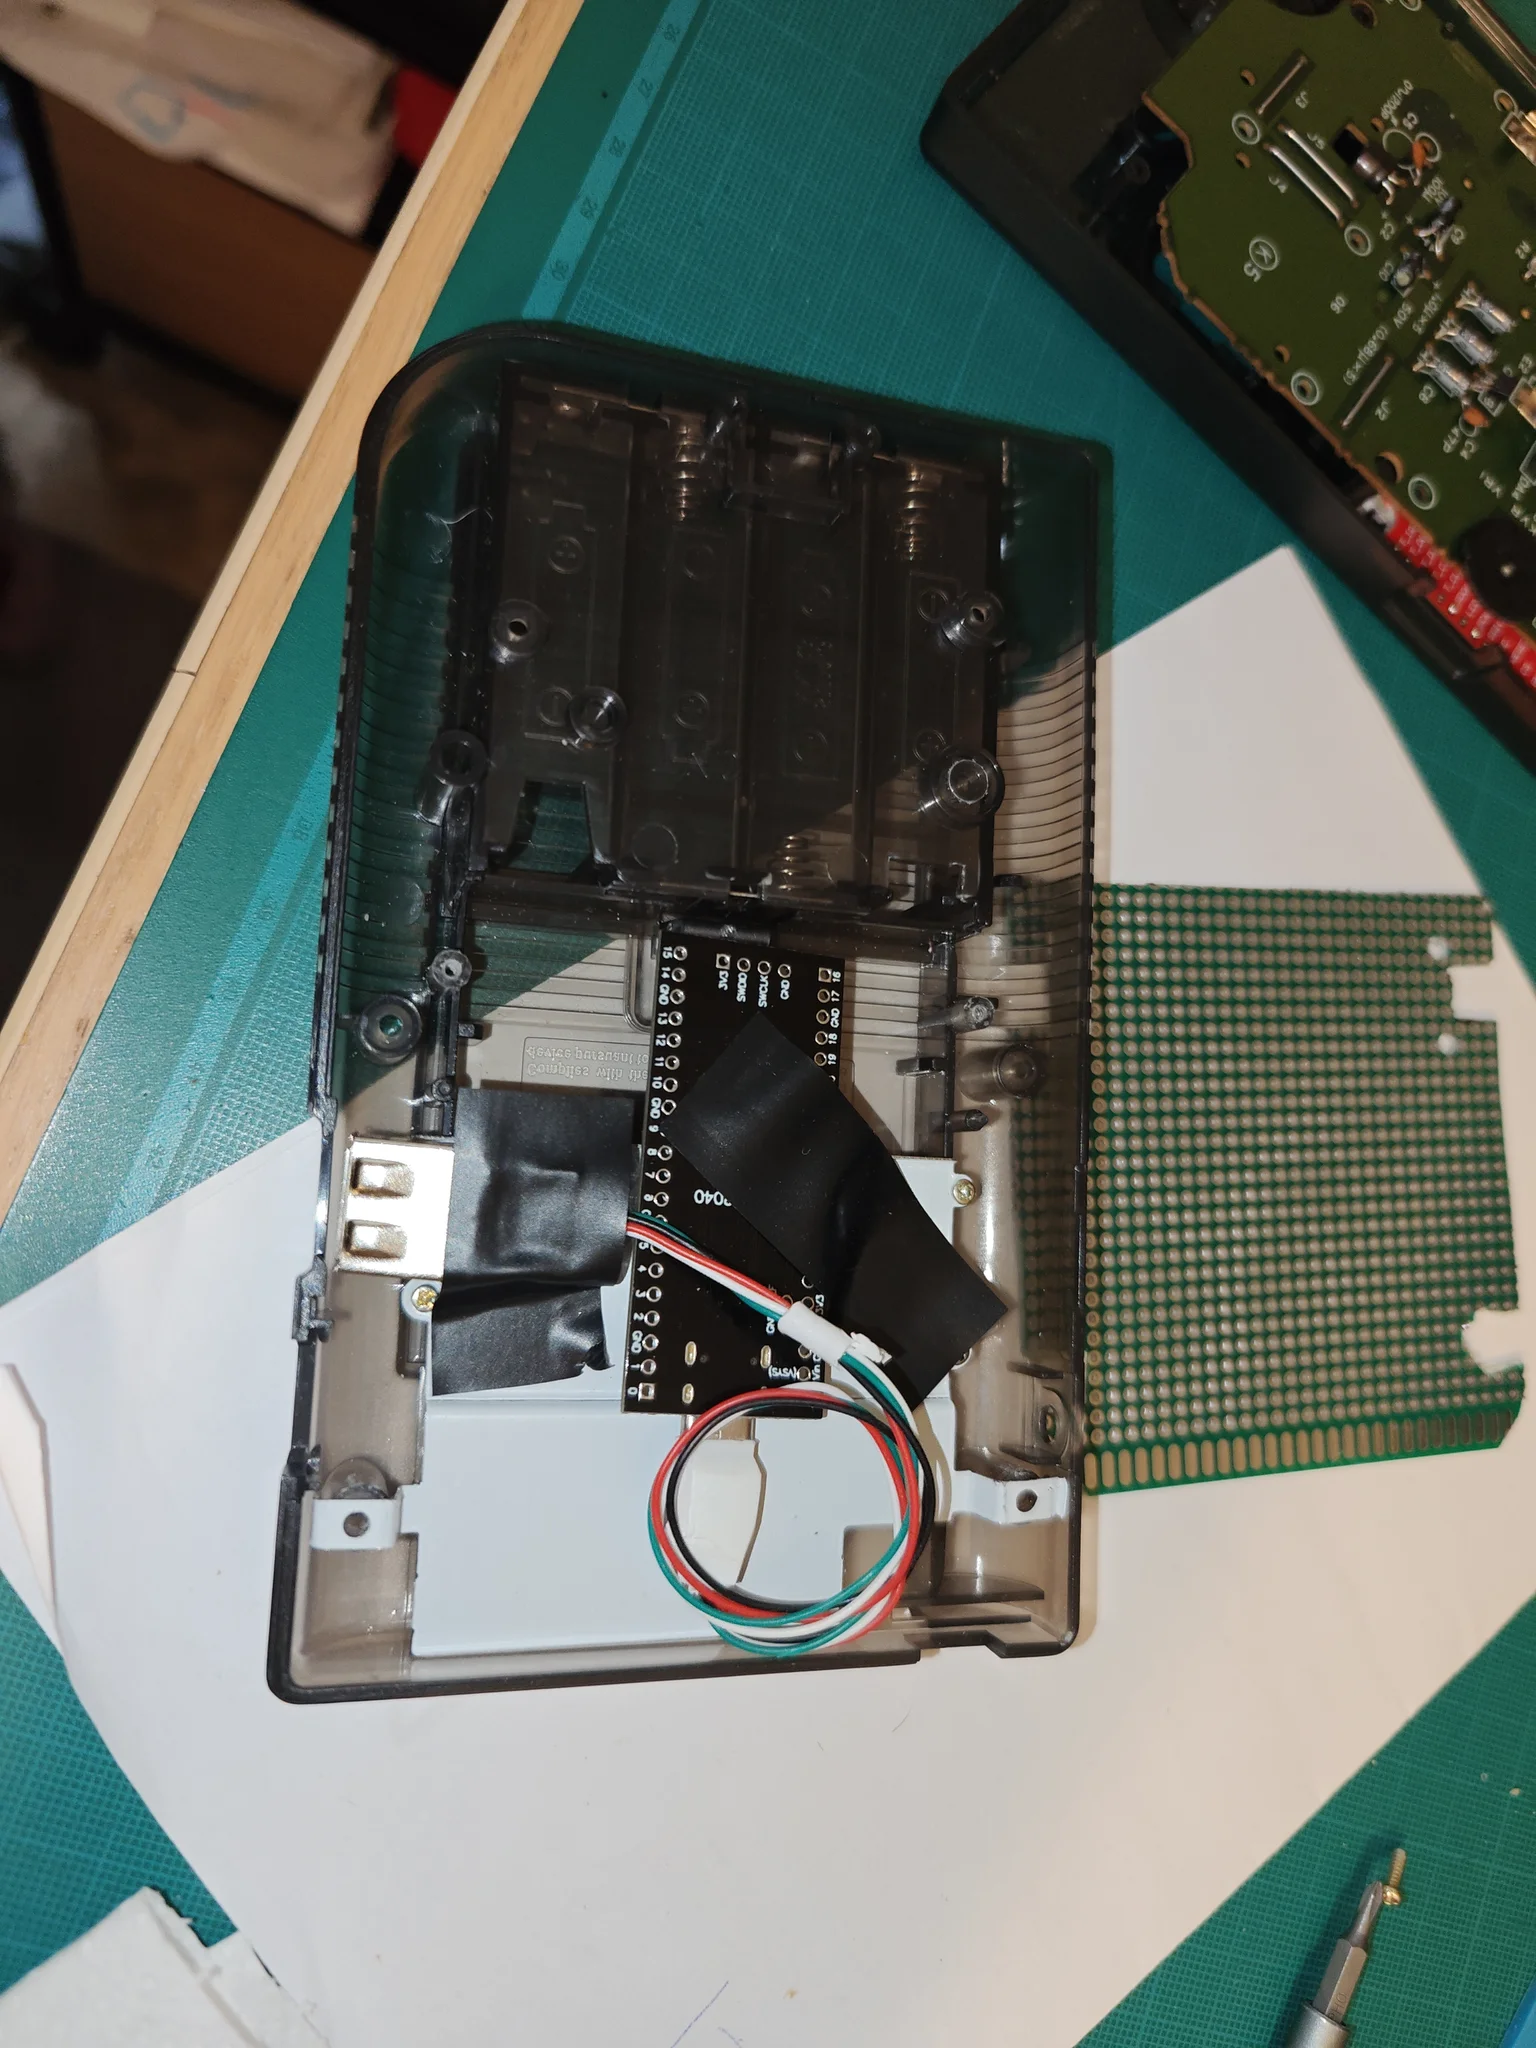
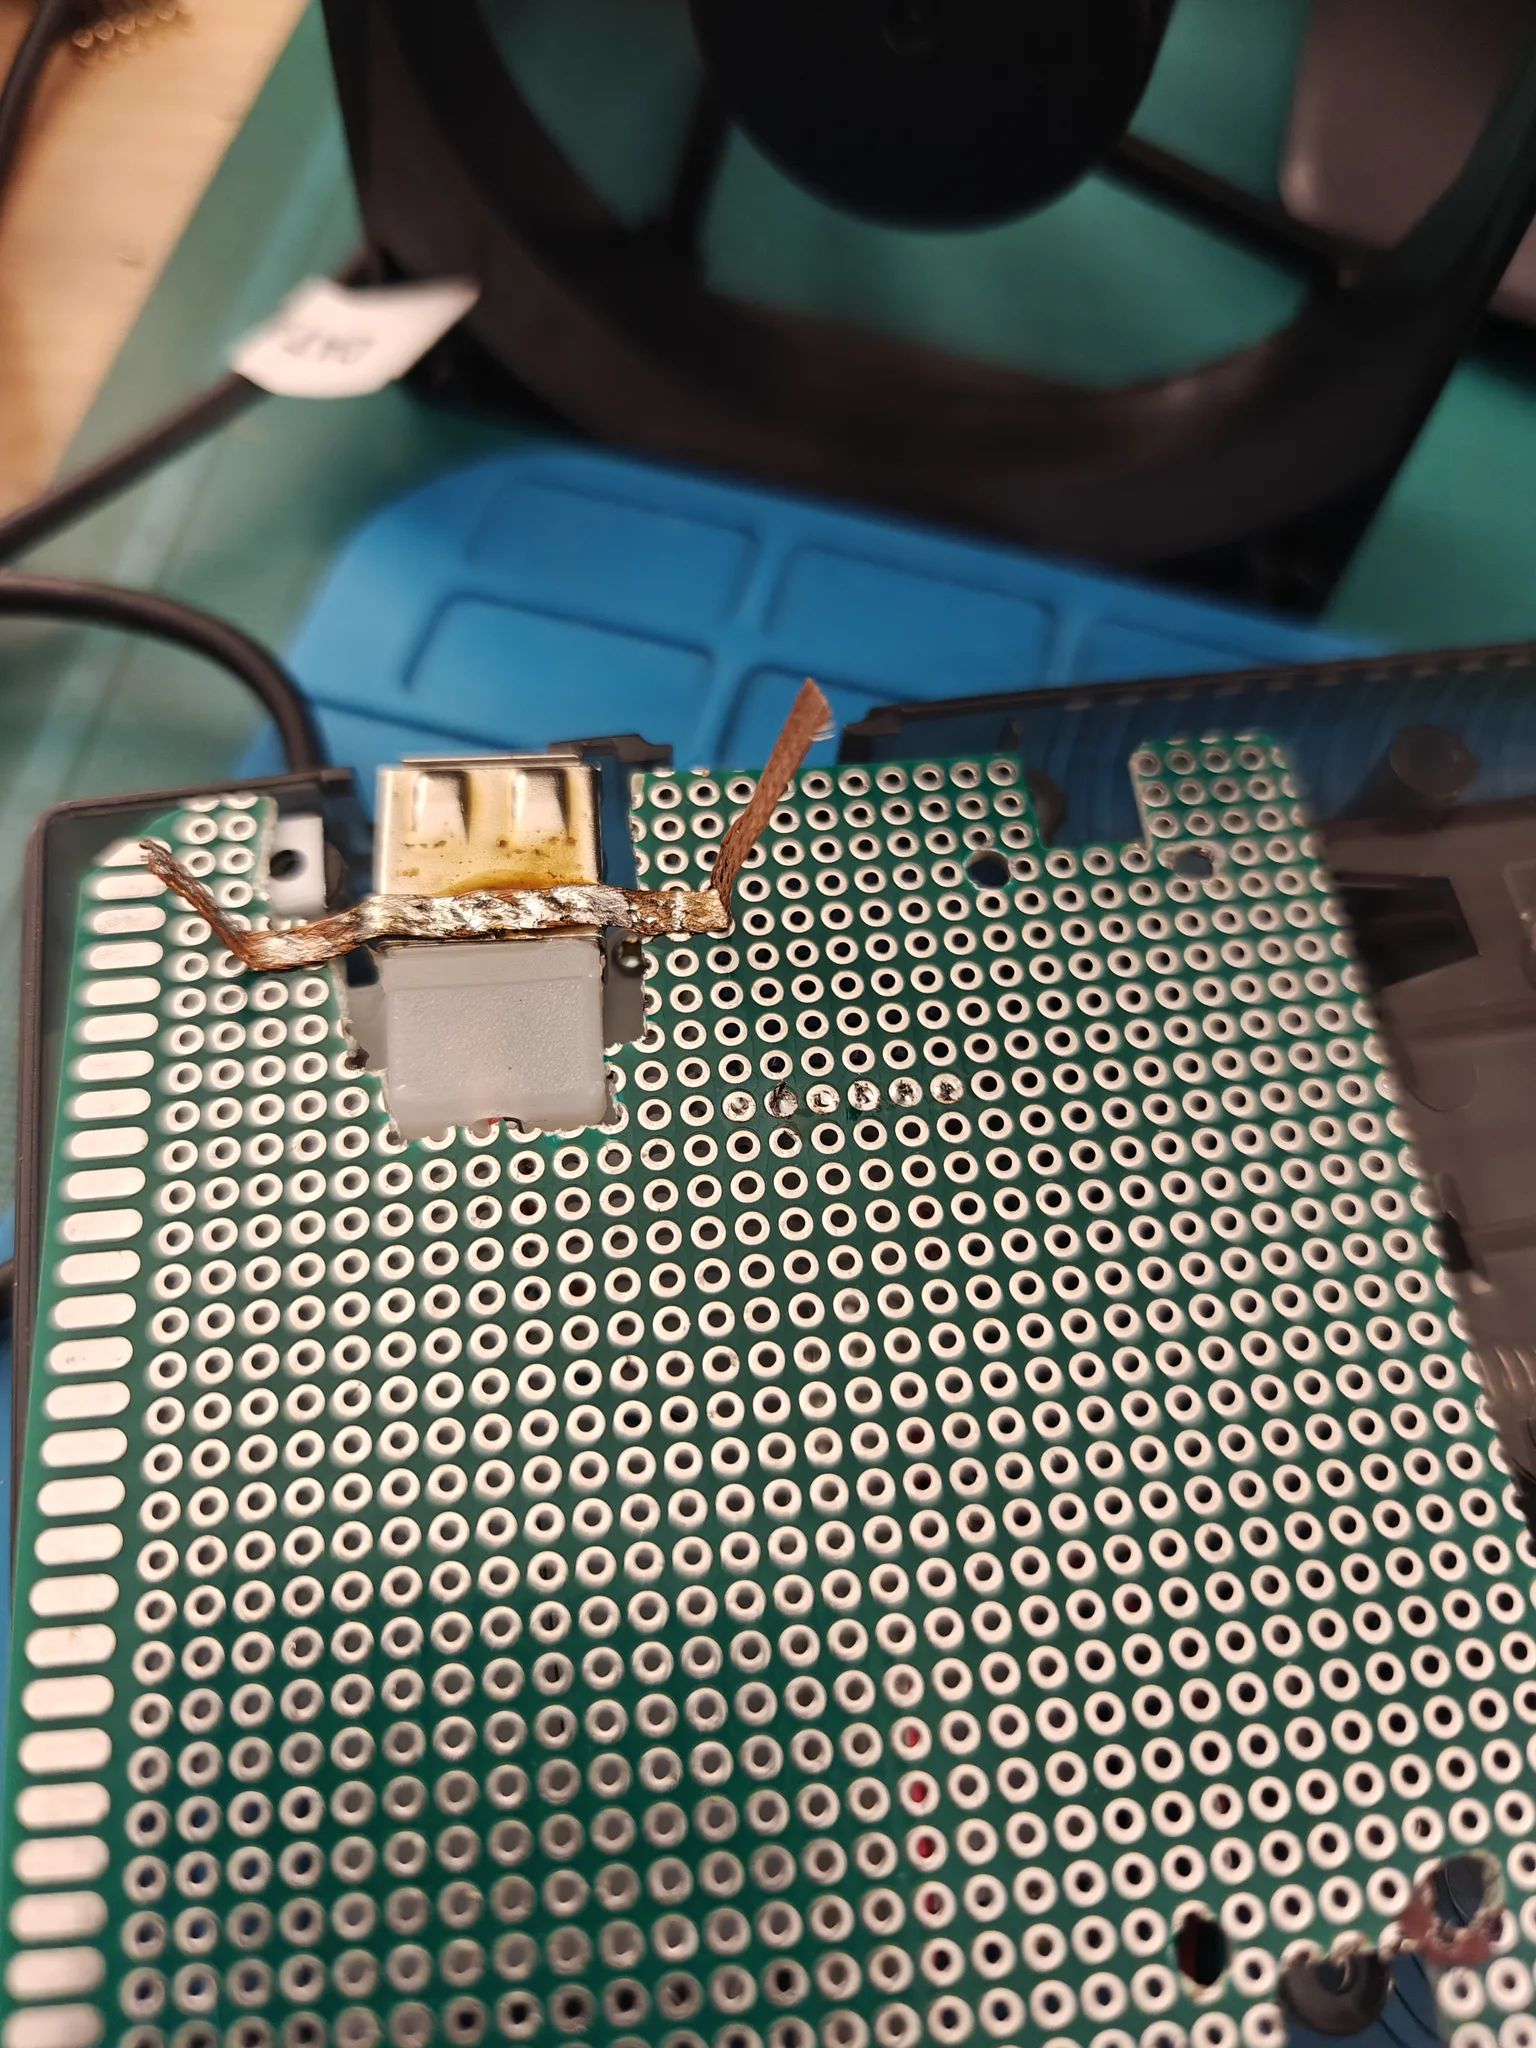
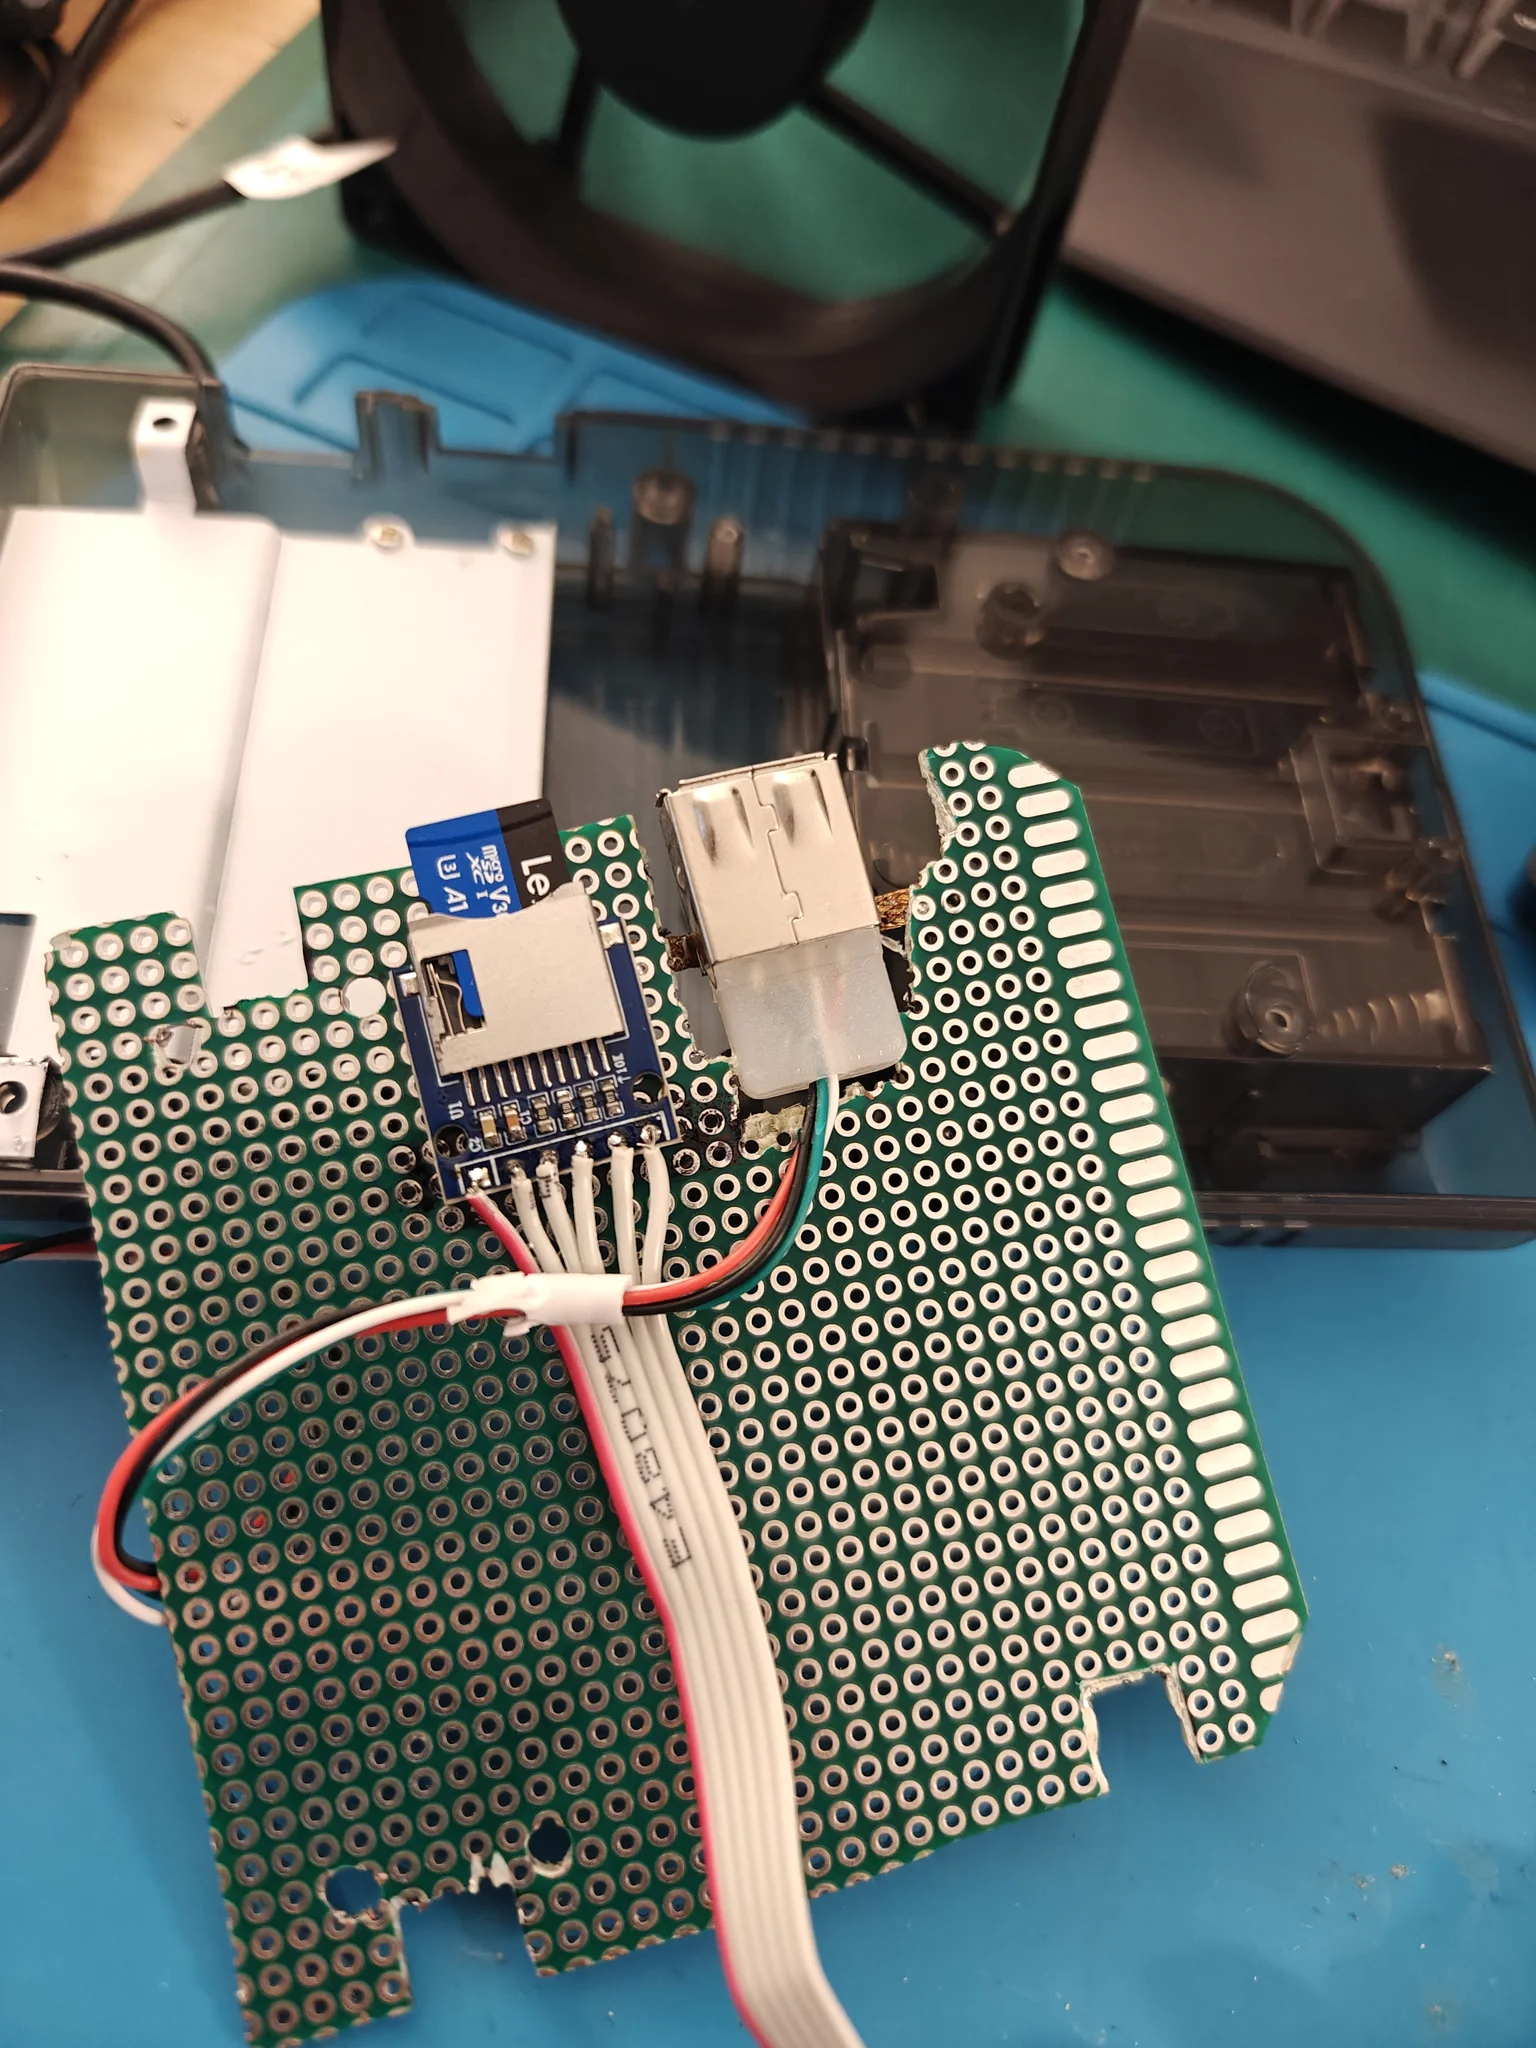
Here we go, fixing the USB-A to the DIY board. You’ll notice I removed a piece of the board to fit the USB-A :rofl:
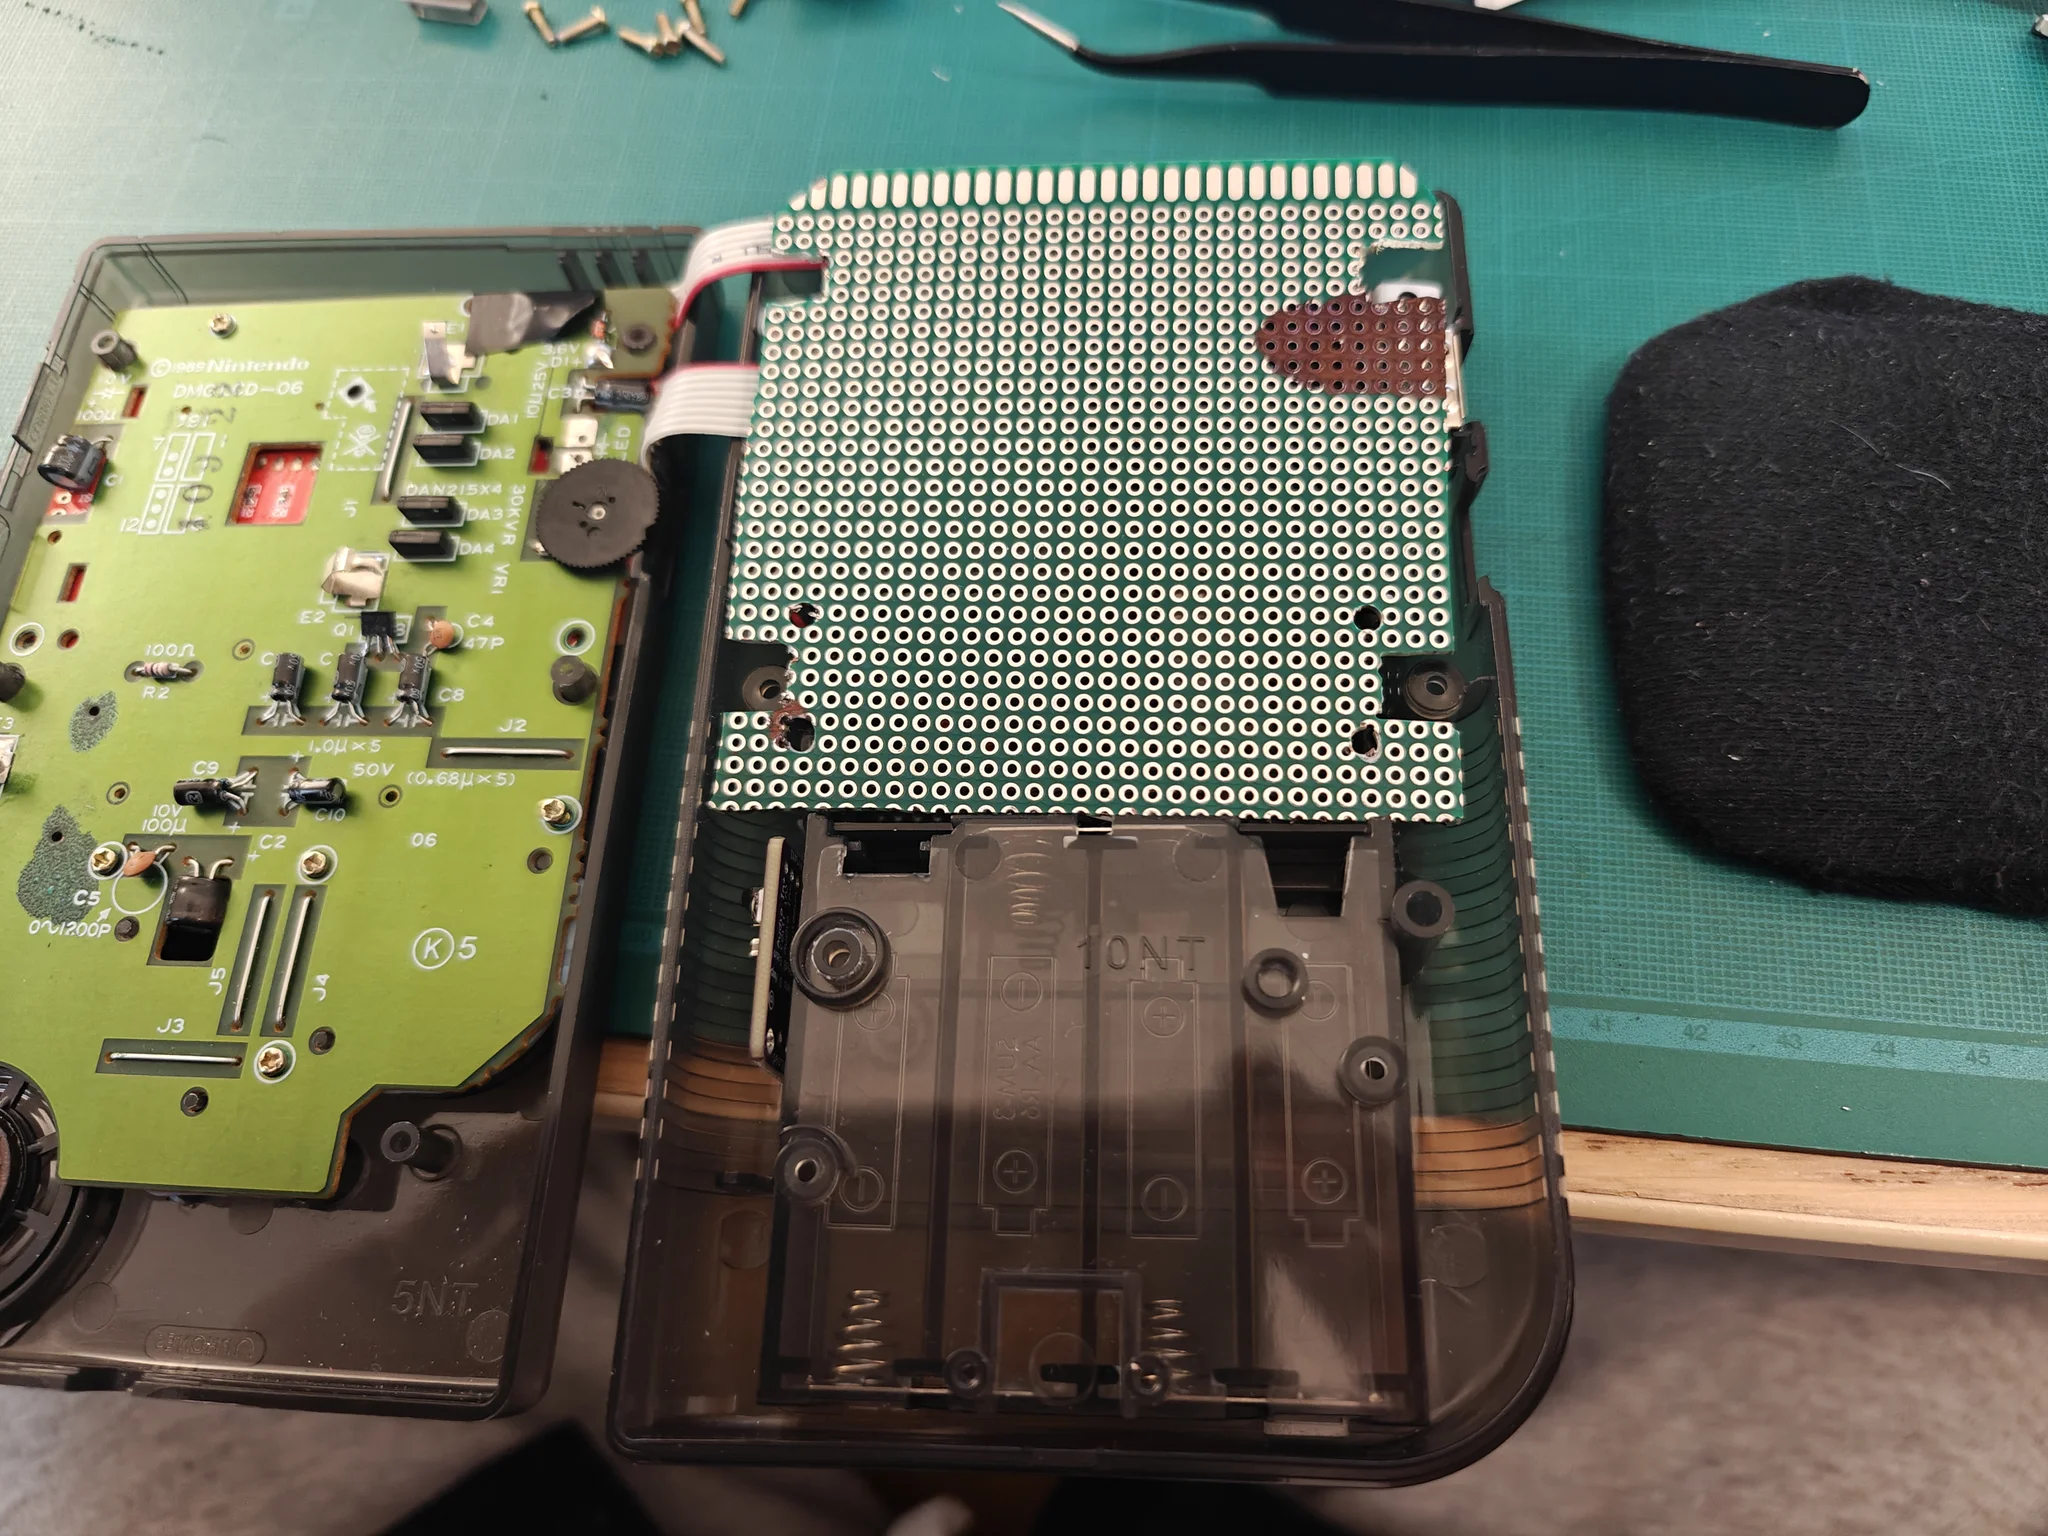
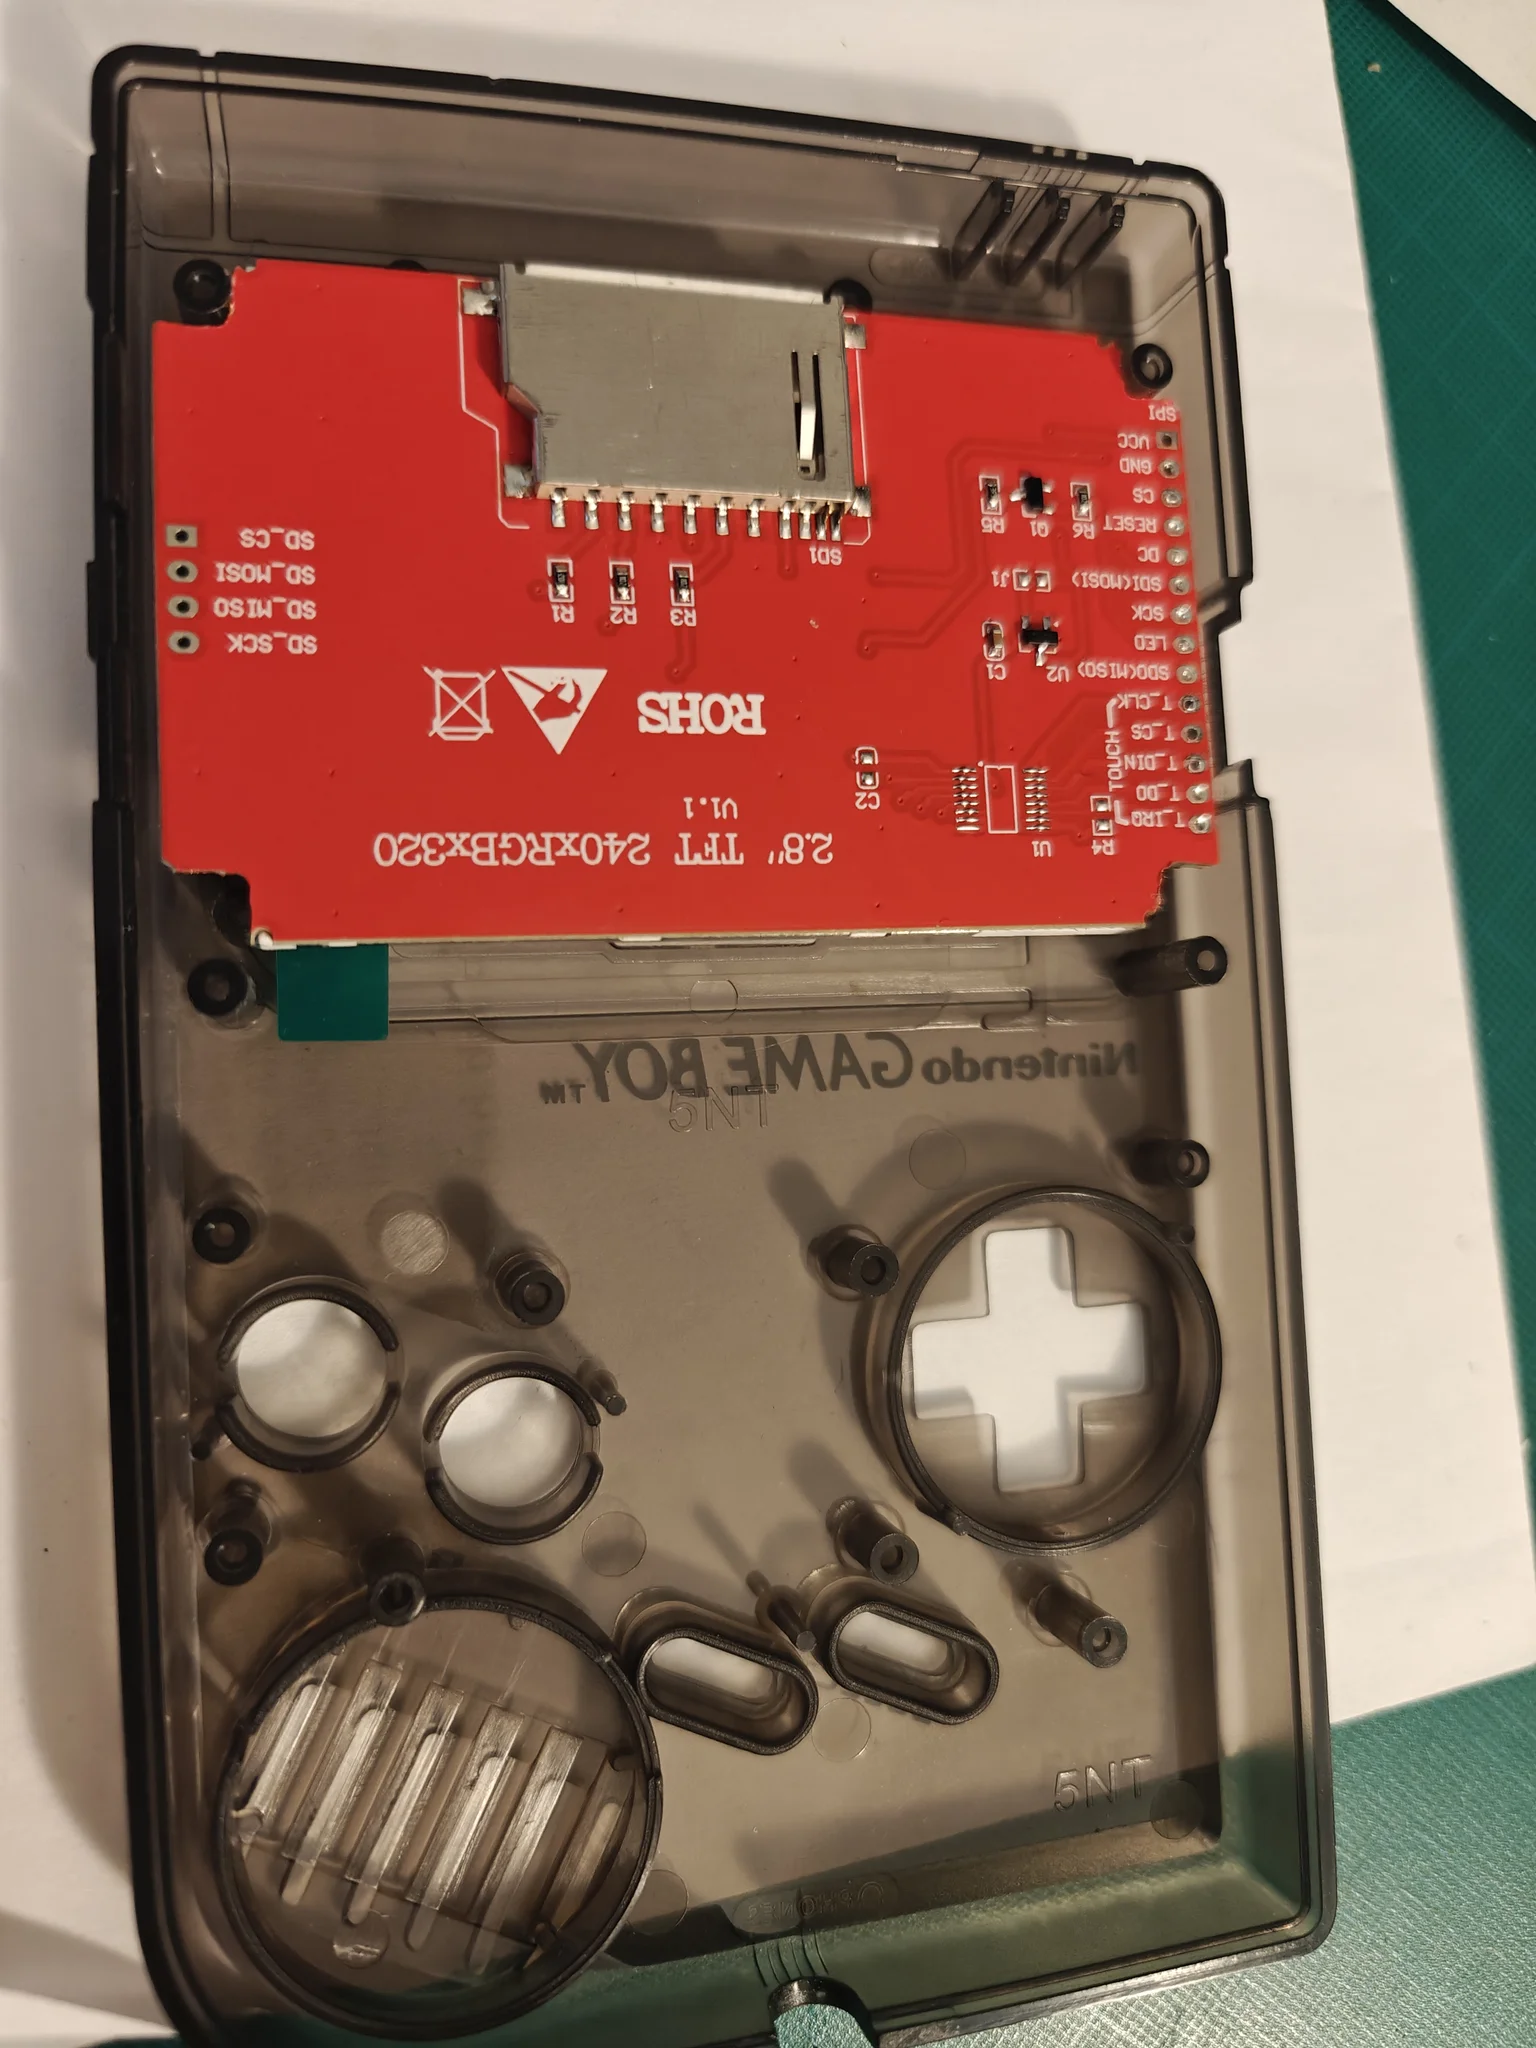
MicroSD reader soldered in place:
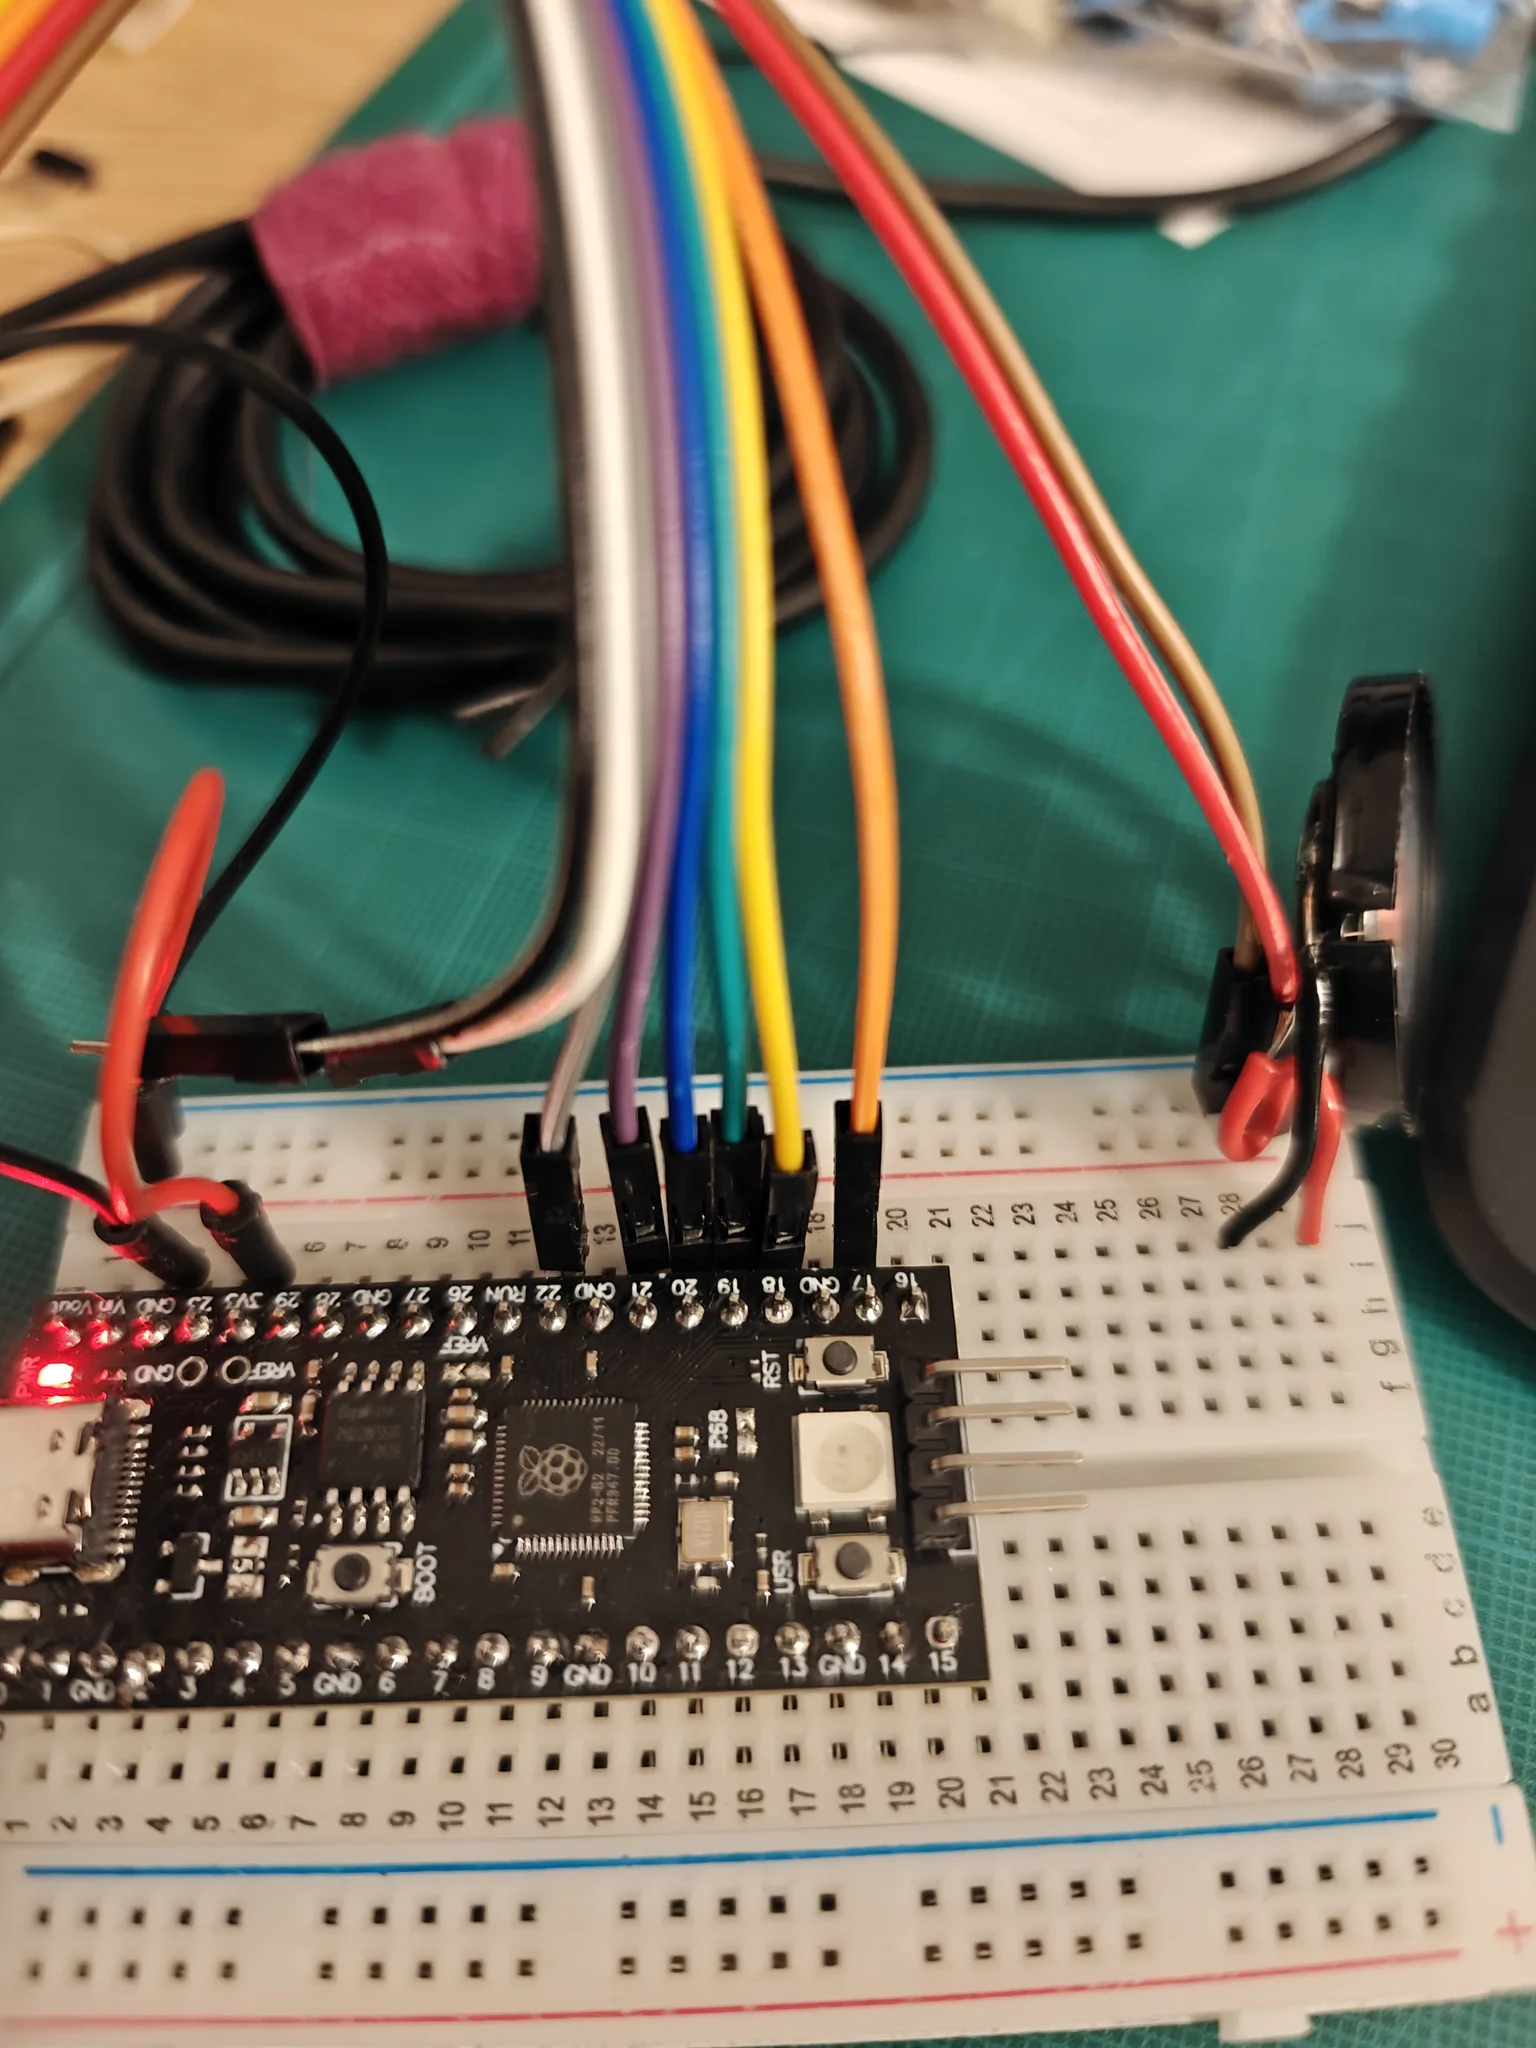
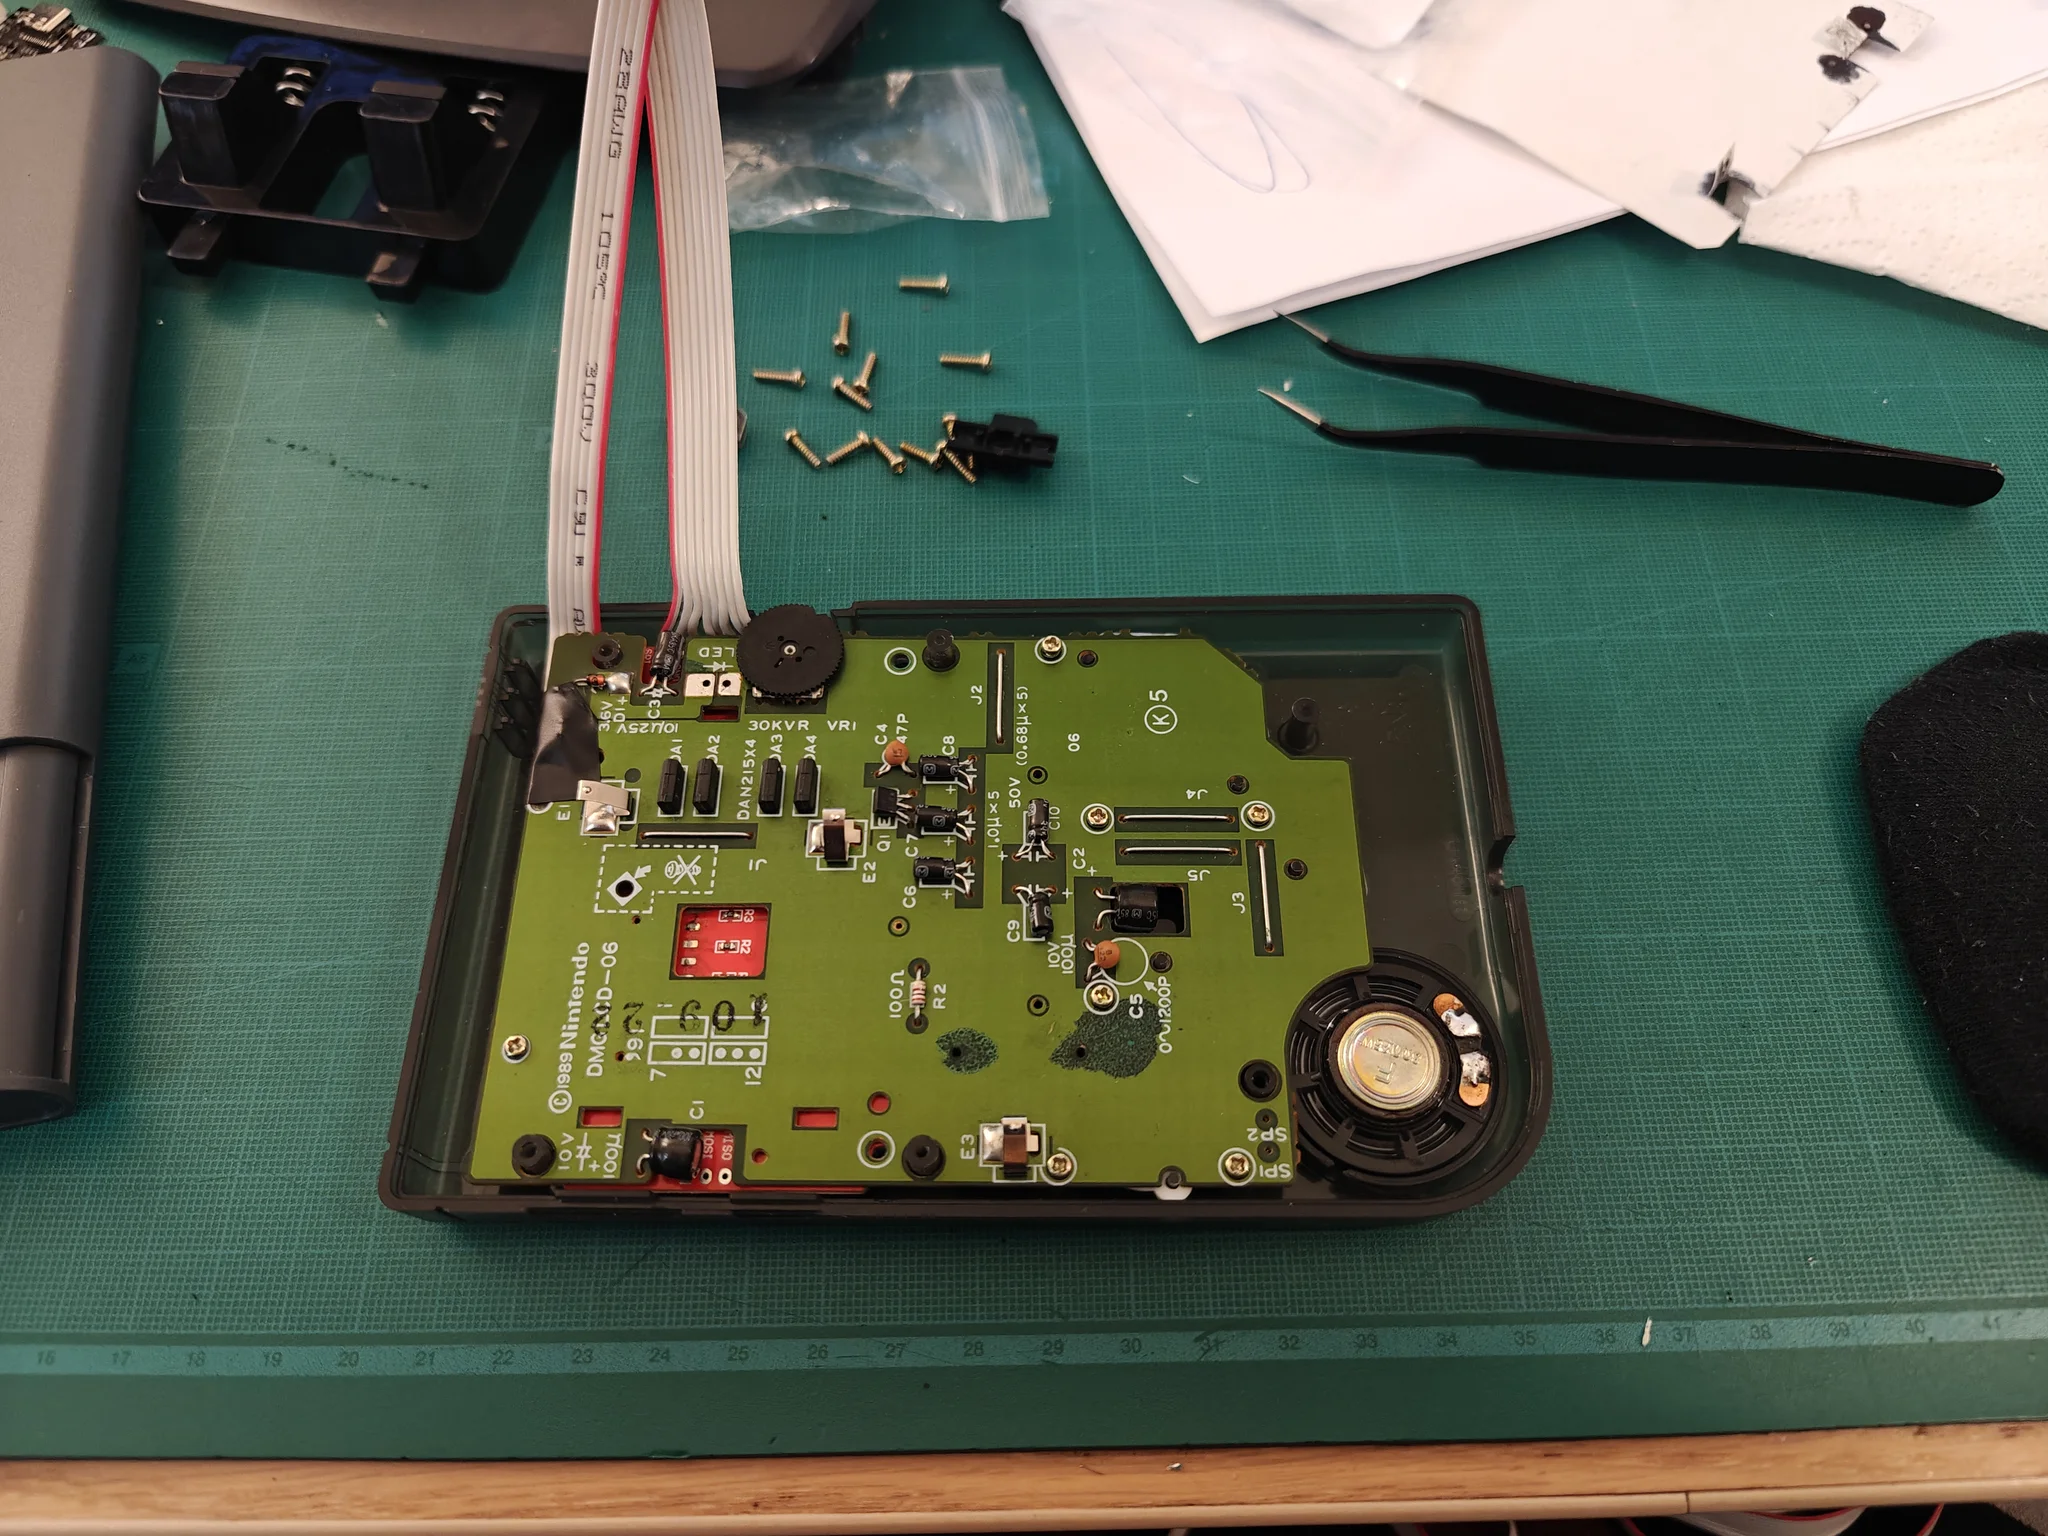
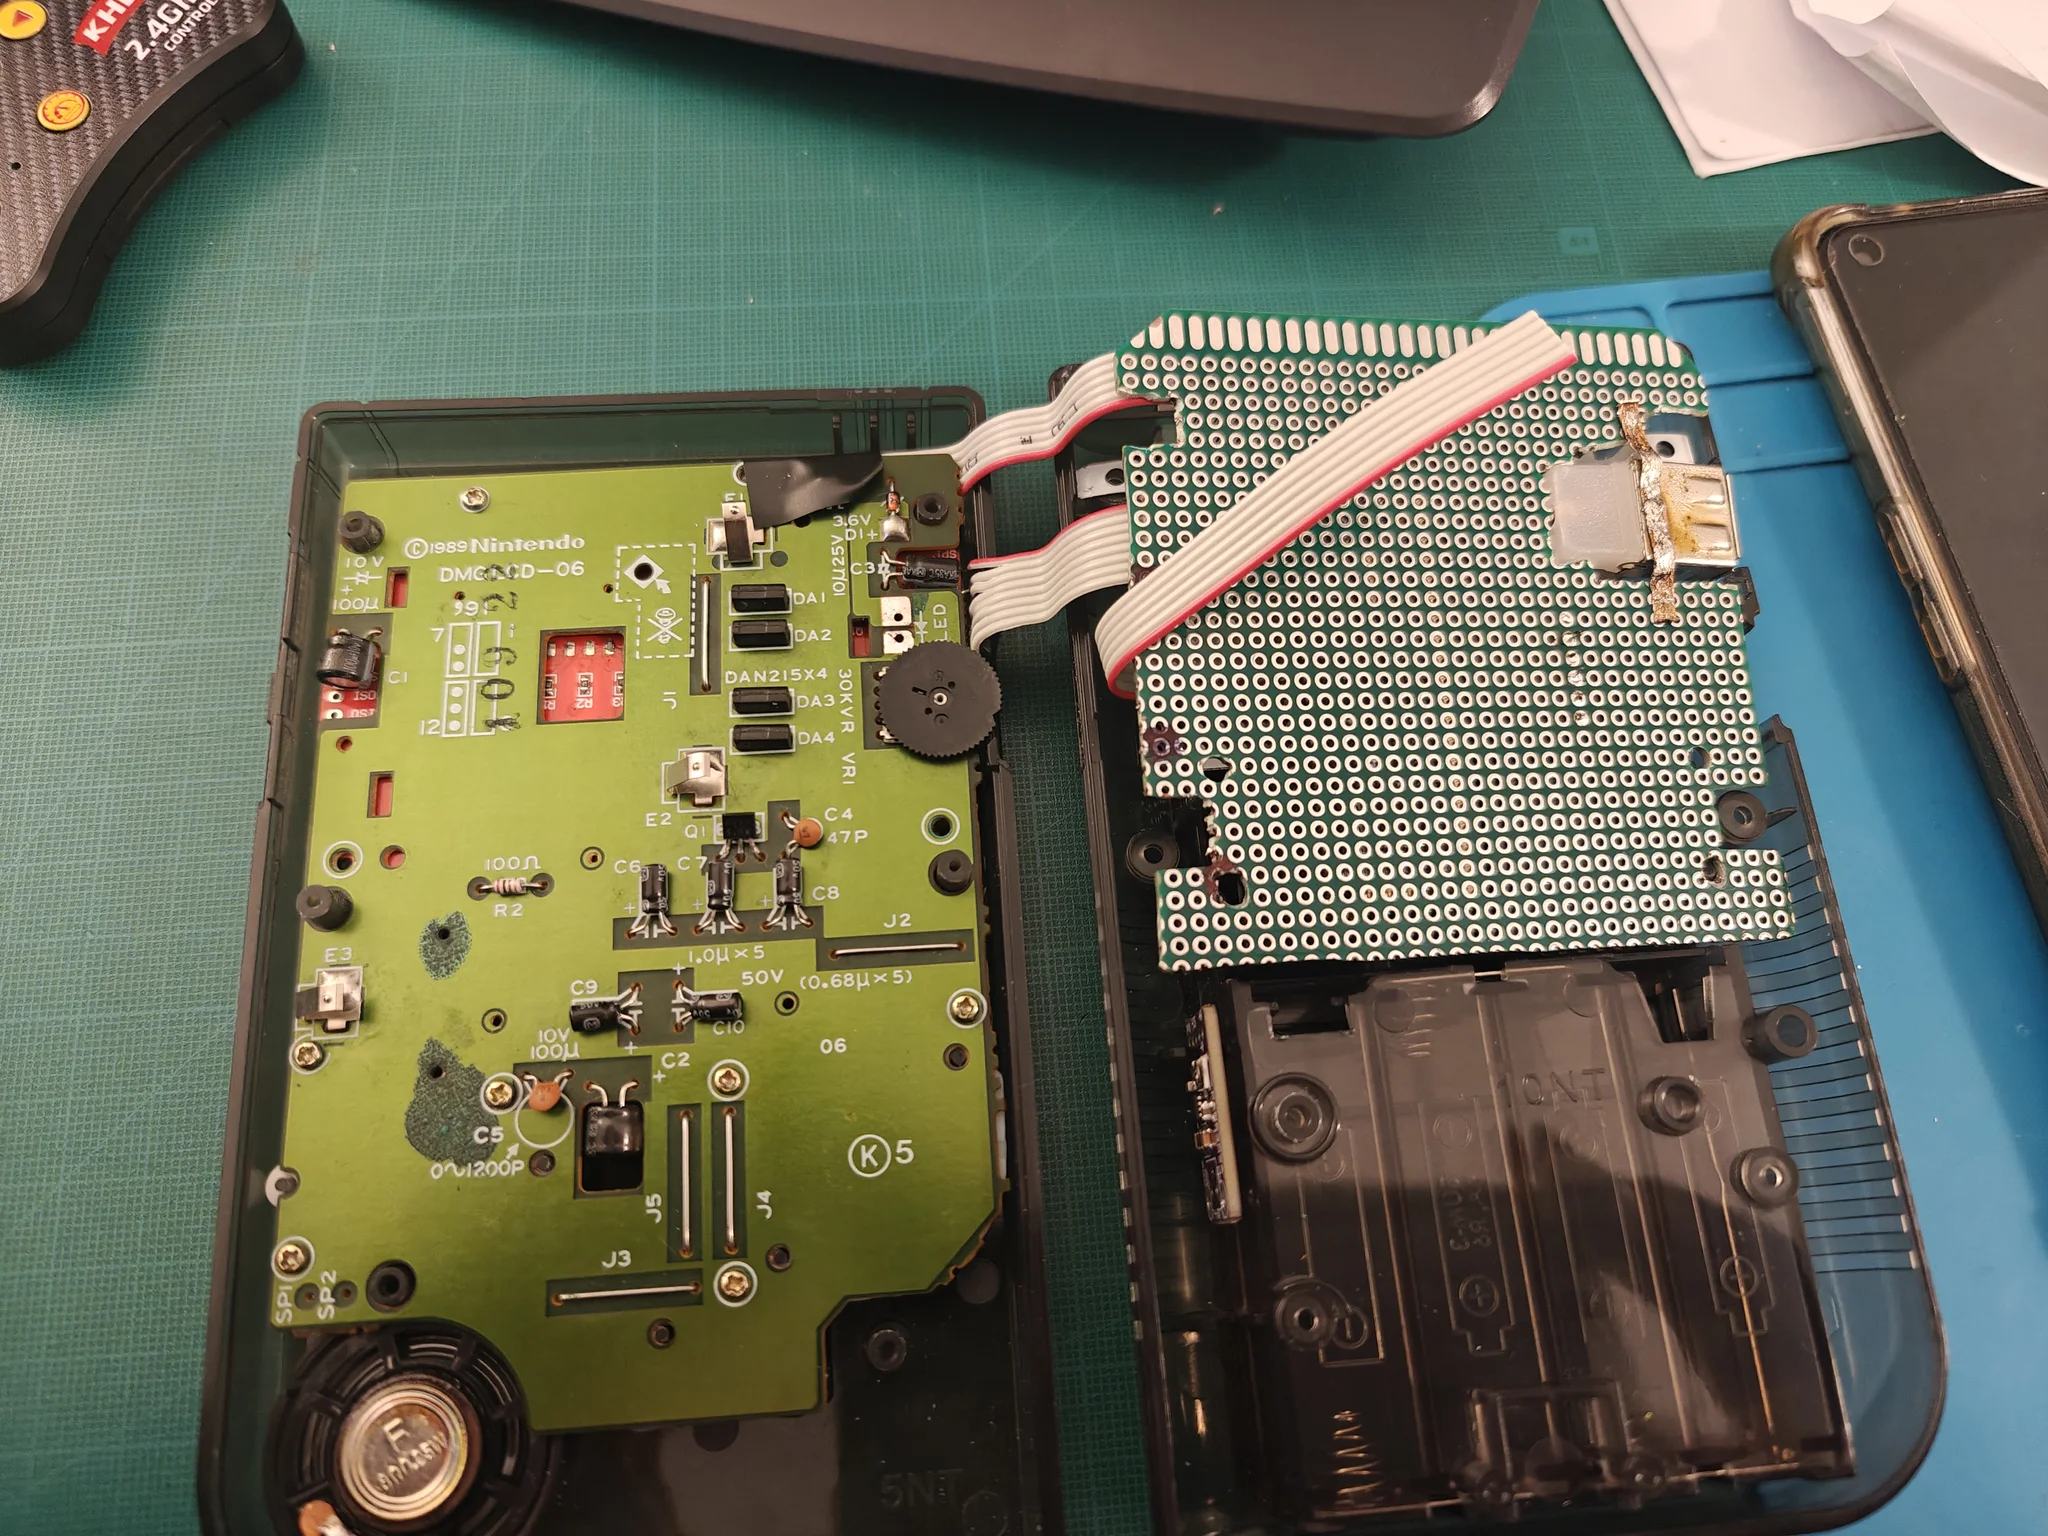
Test-fitting the internals:
My original dream layout… a true “World of Illusion”, because there was absolutely no way this arrangement would fit in the end :rofl:

That’s all for now — lots of hand-crafted work, not much technical documentation, but plenty of photos.
I was really enjoying the process during these stages :-)
tags: rp2040 - dmg - hardware